|

The section of line between Embsay Junction and Embsay station is once more in use. This was the first stretch of line to be
reopened in preservation as the track had been left in situ with the aim of serving Skipton Rock Company's quarry at Embsay.
This never happened, and so the society was left with a short running line. The Junction is now roughly the site of Bow Bridge
Loop.
|
|
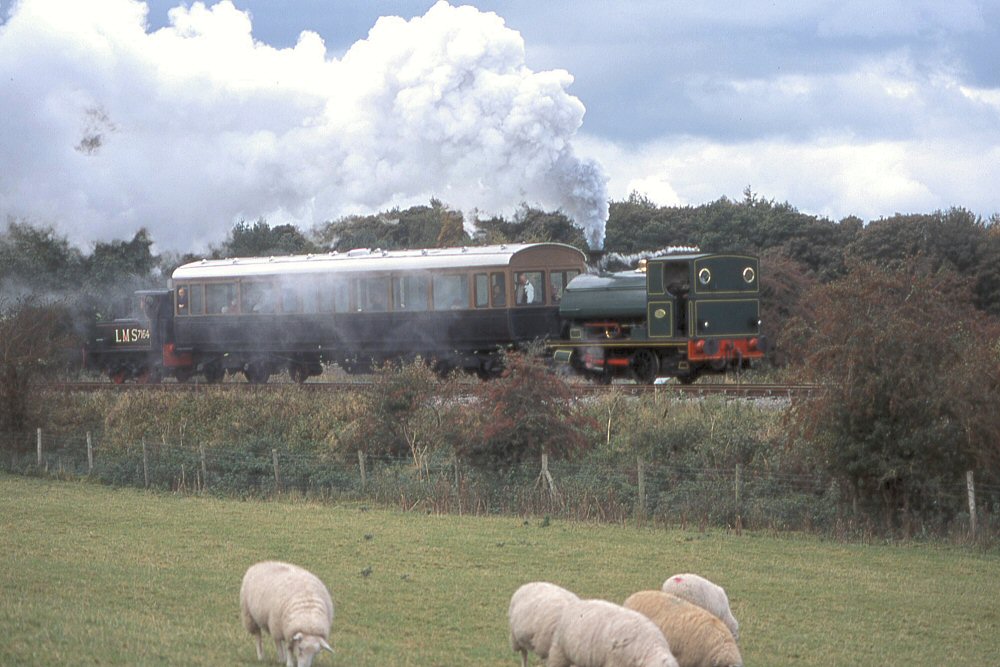
Slough Estates No. 5 is seen here in 1975 with a train composed of Altrincham Electric coaches
approaching Embsay from Bow Bridge. At this time there was no Bow Bridge Loop, and the track was still doubled up to the
junction. At the rear of the train is loco S100, which is now based on a different railway. This locomotive was identical to
our own 140.
(c) Charles Boylan.
|
|
|
|
Two locomotives that are no longer based at Embsay - Fred (Avonside, now in Belgium) and Chemicals (Barclay, now ???) - head
for Bow Bridge from Embsay with one of the Altrincham Electric coaches.
(c) YDRMT collection.
|
|
|
|
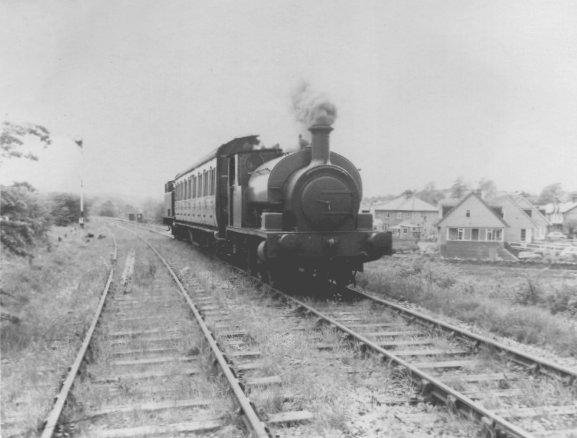
York No. 1 seen in a very similar location to the above
photo, propelling the NER Director's Saloon (hence the green flag) back
towards Embsay. The lifting of the second line is apparant here - it was used
to extend the running line towards Skibeden Loop. The telegraph post in the
background (left) marks the Grassington branch.
(c) Jim Winkley.
|
|
|
|
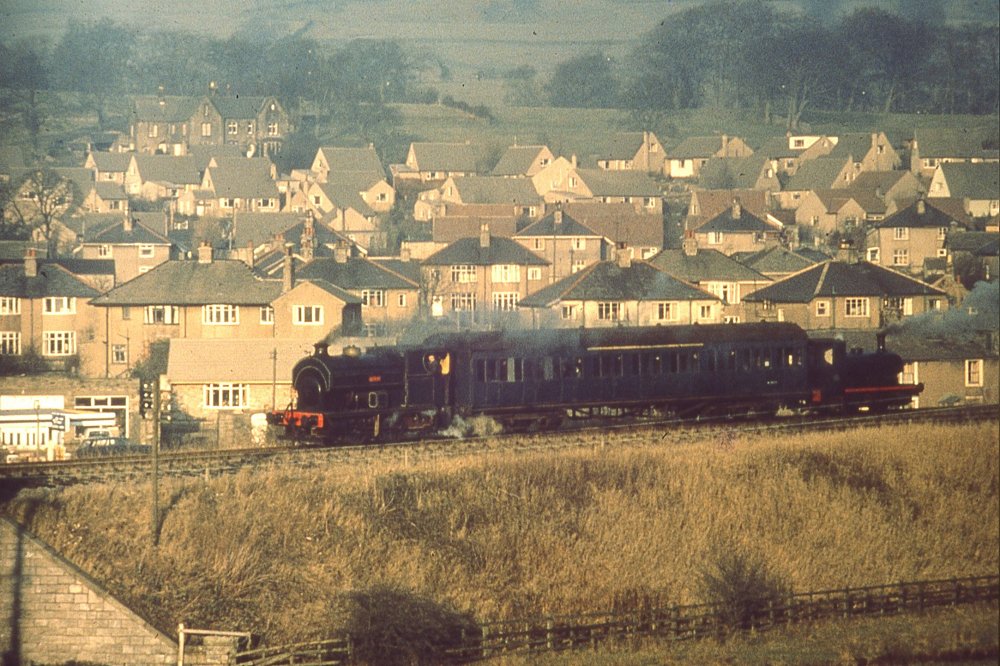
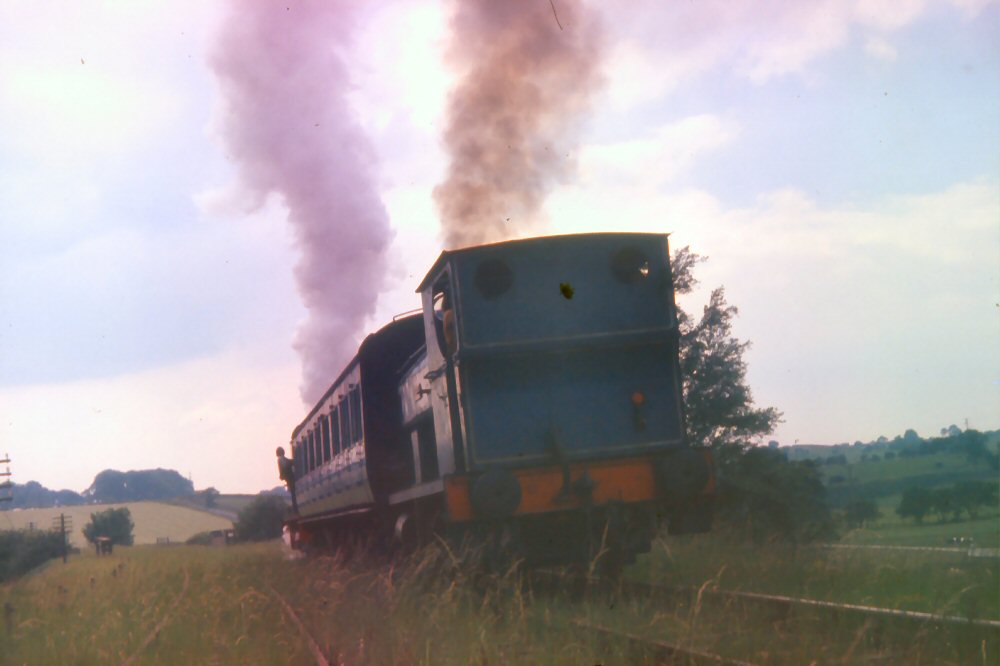
This photograph from 1975 shows Joem's attempted steaming, between Embsay and
Bow Bridge Loop. It is taken from the main road through Embsay, and clearly
shows the large embankment upon which the railway is laid at this point. The
locomotive at the rear is probably Primrose
directly after arrival on the railway, and is approximately where Bow Bridge
Loop is situated.
(c) Charles Boylan.
|
|
|
|
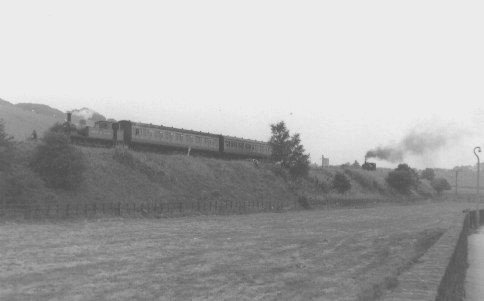
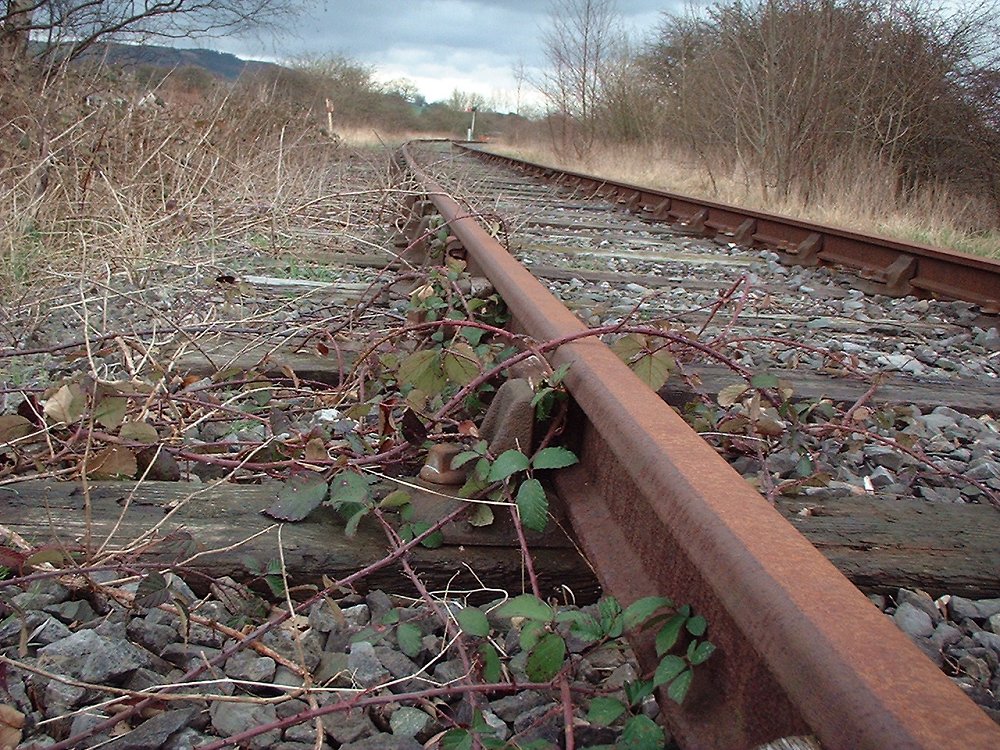
Fred and another loco (possibly S100?) between Embsay and Embsay Junction, showing the overgrown, but still intact, Down line.
(c) Charles Adams
|
|
|
|
Barclay 'Chemicals' (later sold back into industrial service at Crossley's Scrapyard, Shipley, where it was renamed 'Harry')
with the Altrincham Electric coaches approaching Embsay station. The Down starter (which was originally slotted with Embsay
Junction) is off, but the line itself has now been lifted to a certain extent.
(c) Charles Adams
|
|
|
|
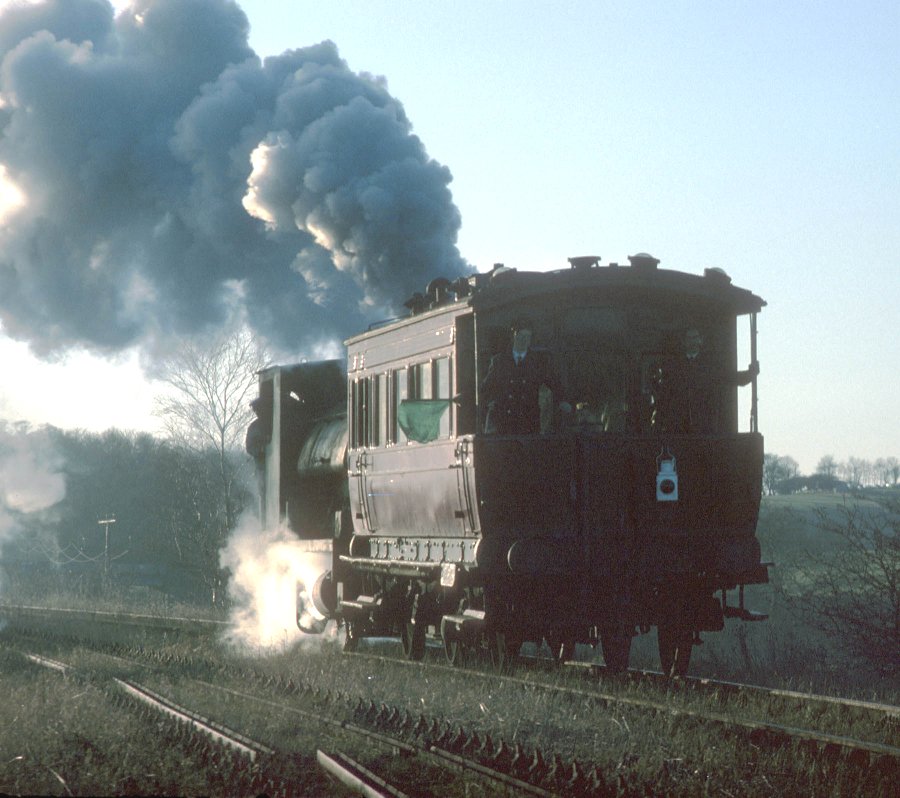
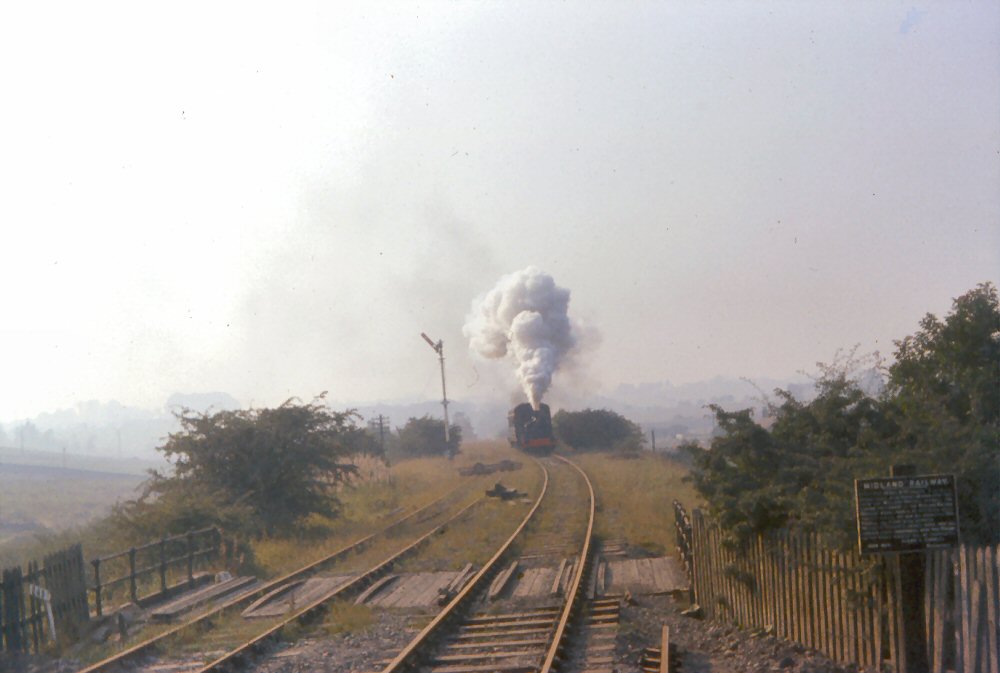
York No. 1 is seen here very close to Bow Bridge Loop, under a test having been vacuum fitted for
hauling passenger trains. The down line has been removed, and was used in the first extensions towards Skibeden.
(c) Charles Boylan.
|
|
|
|
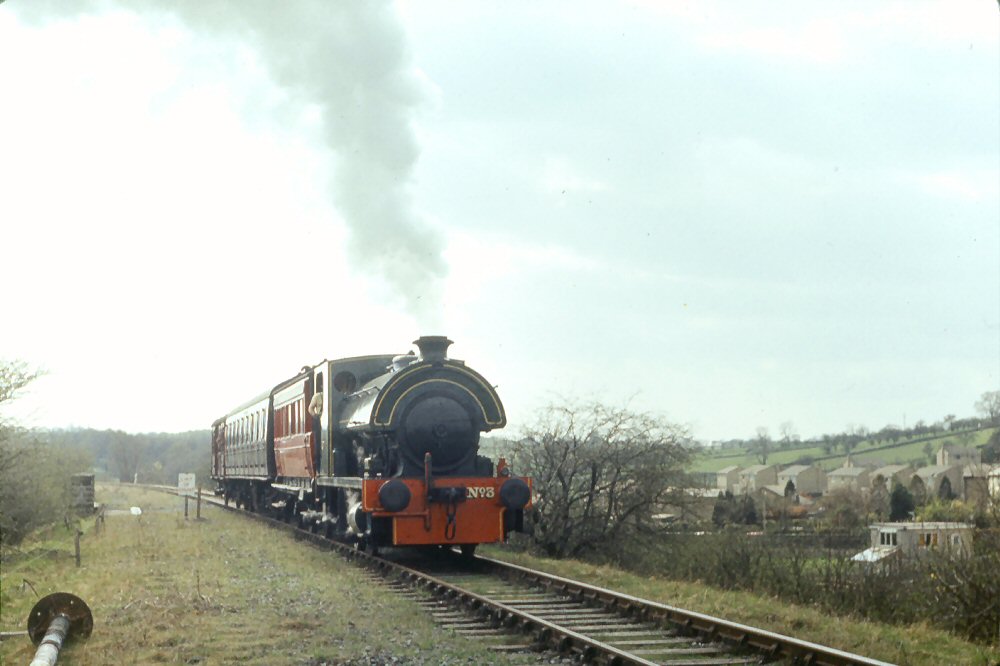
York No. 1 with the service train comprising the NER Directors' Saloon, a MkI suburban and the SR BY as
brake. The start of Embsay village can be seen to the right. The signal post is presumably the Down starter, having been dug up,
and is still in use today as the Down outer home (No.20 in Embsay Station signalbox).
(c) Charles Adams.
|
|
|
|
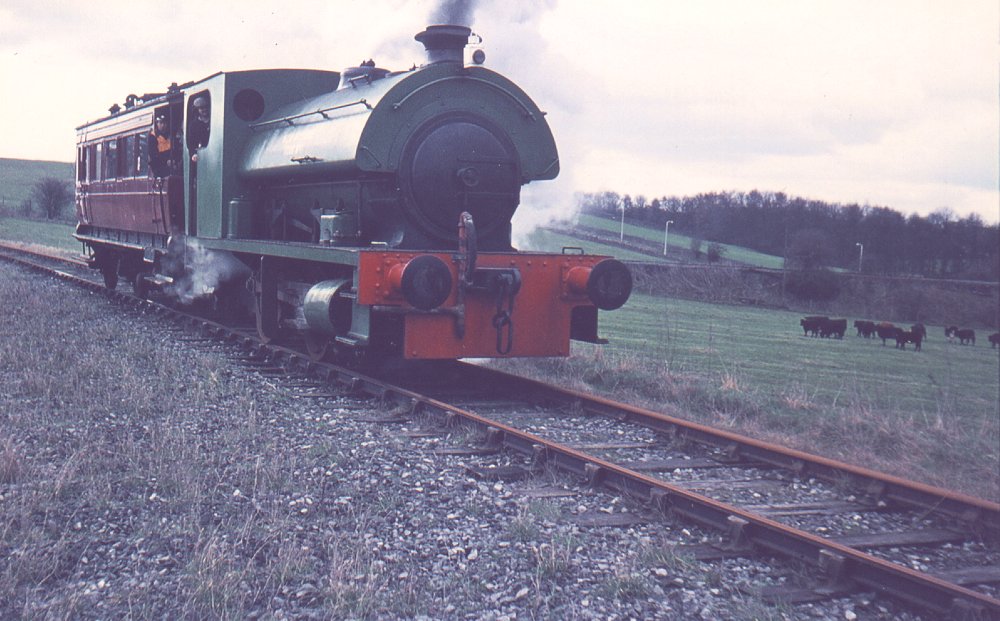
Bow Bridge Loop, very close to the site of the former Junction, plays host to Slough Estates No.5, just
outshopped from its first overhaul on the Railway. The junction is located to the left of the picture, with Embsay Crag
visible in the background.
(c) Charles Adams.
|
|
|
|
Another photo of Slough Estates at Bow Bridge, this time taken from close to where the former signalbox
was located.
(c) Charles Adams.
|
|
|
|
Primrose with the passenger train having just entered Bow Bridge loop from Embsay. The line at this
point is on an embankment, giving some good views of the trains from the road (to the left) as they run between Embsay and
Bow Bridge.
(c) Charles Adams.
|
|
|
|
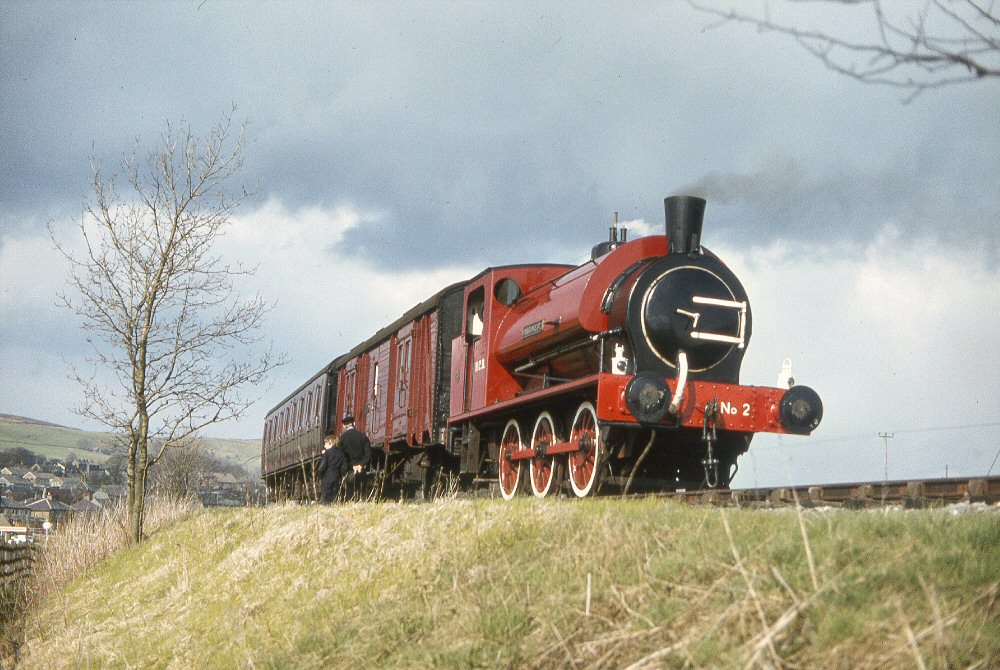
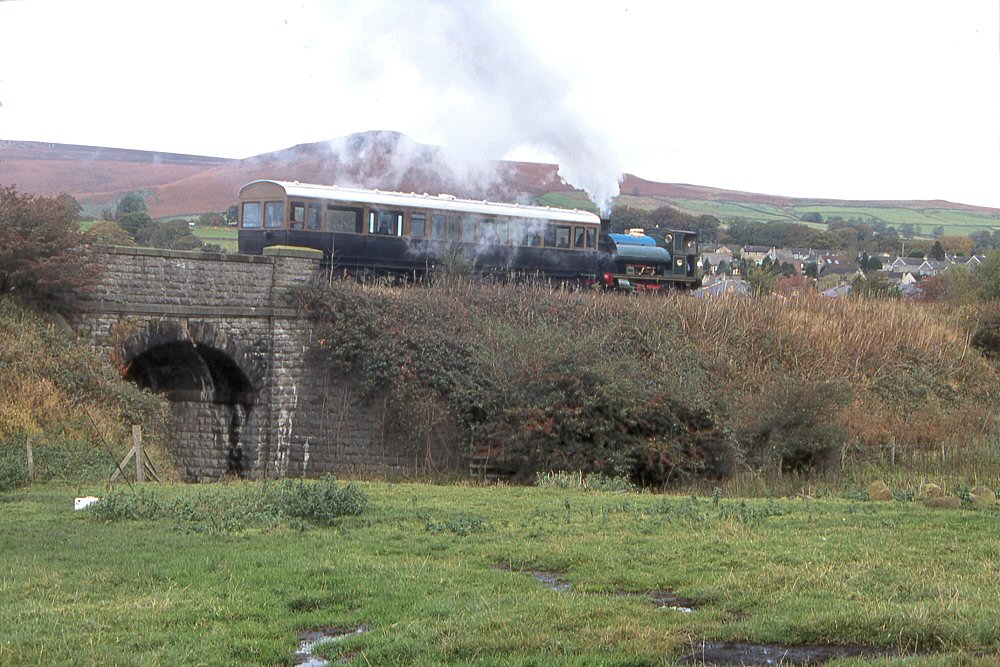
Visiting well tank locomotive Bellerophon is seen here crossing Bridge 21 as it returns to Embsay Station in July 1988 when
it visited the line in order to celebrate the Railway's centenary. Re-sleepering is underway in this photo. When it came to
re-keying the line in 2000 / 2001, this bridge was found to be life expired and was subsequently replaced.
(c) Charles Boylan.
|
|
|
|
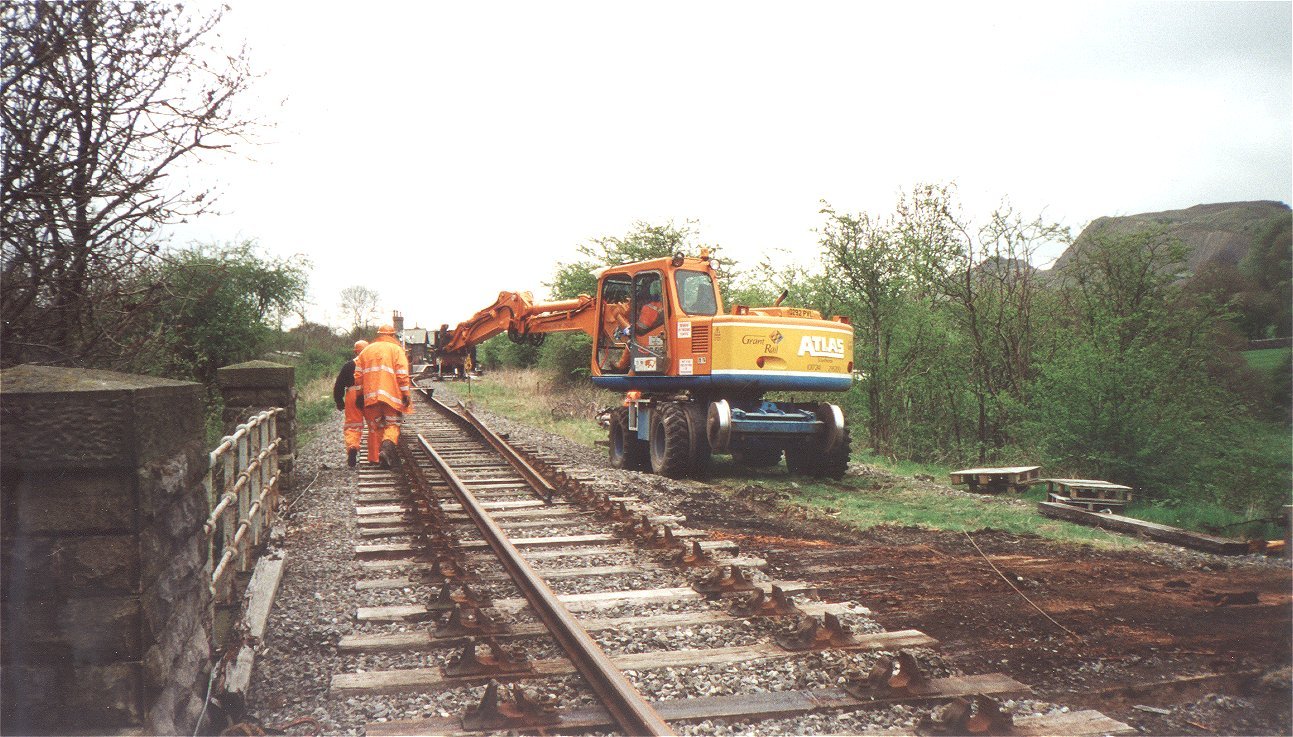
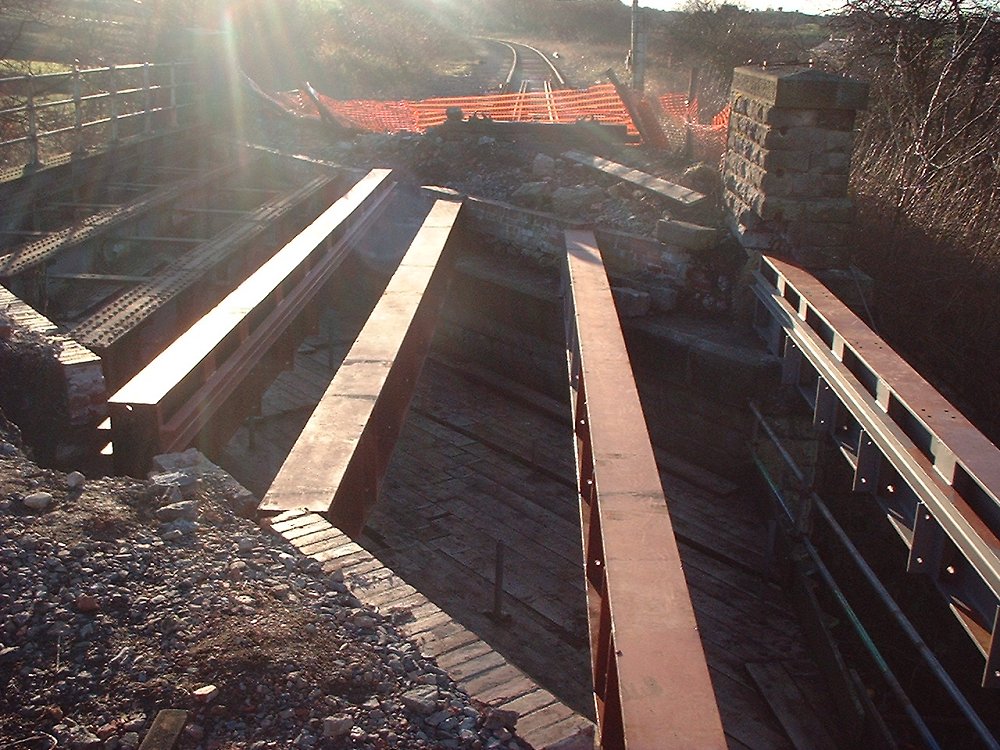
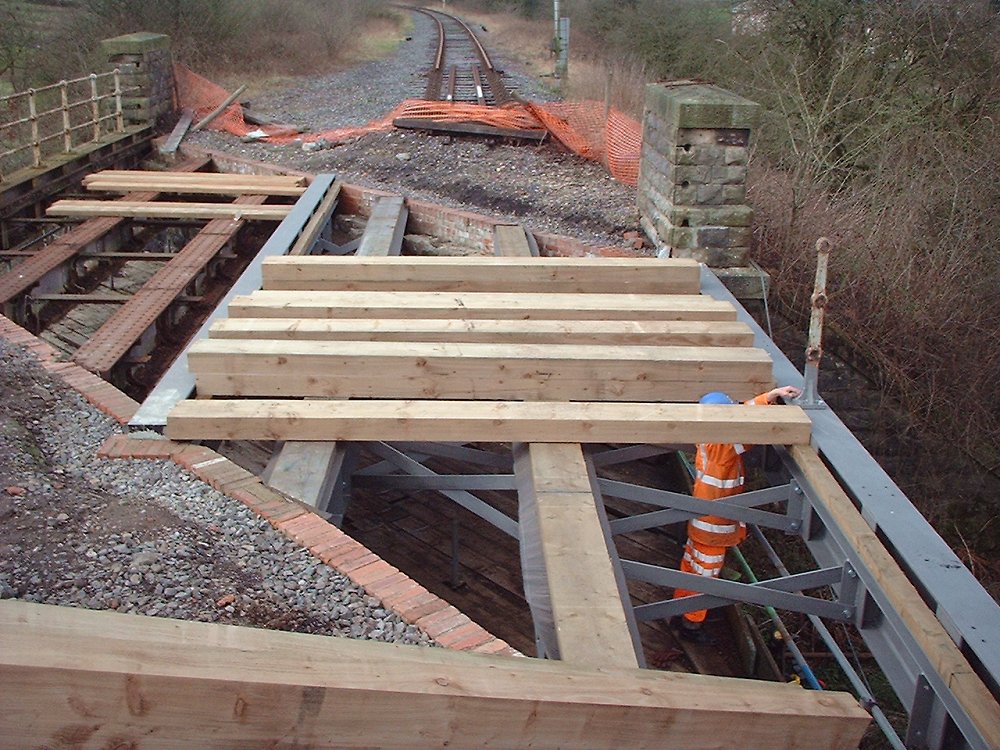
Bridge 21 (the second bridge from Embsay Station towards Bow Bridge
Loop) is a bridge over the stream, constructed as a skew bridge with wooden
decking on metal girders which lie under where the rails are. However, the
decking was found to be very rotten indeed, and these photos show the decking
being removed. The first step was to remove the track, and this was achieved
with a road-rail vehicle, loaned by GrantRail. Here it is seen posing, along
with Mike Mason and Dave Barlow.
(c) YDRMT.
|
|
|
|
This photograph looks back towards Embsay Station, and the rails have
been removed by the road-rail vehicle. The decking where the second track lay
has been cleared off inpreparation for the timber removal, and the rotten
nature of the timbers can be seen. The rail wheels can be clearly identified
on the road-railer, and the usefulness of these vehicles is apparant.
(c) YDRMT.
|
|
|
|
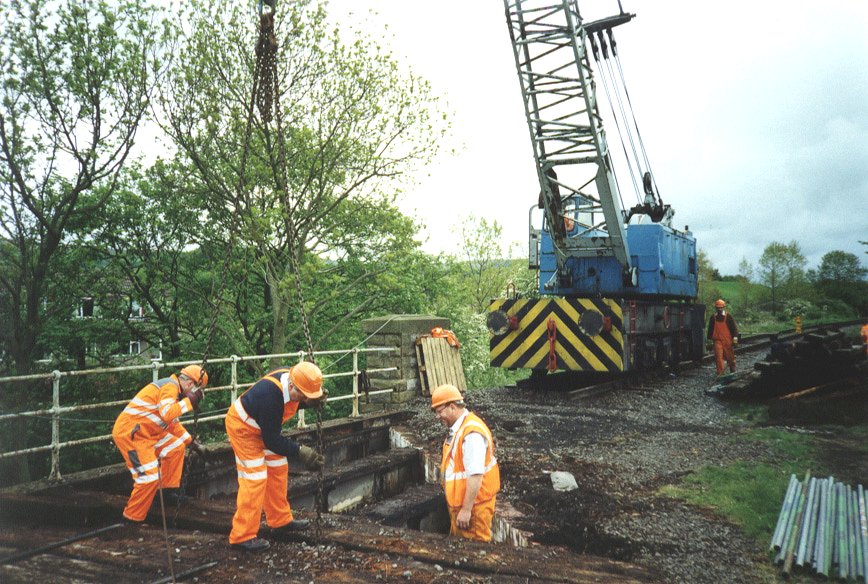
Scaffolding was errected underneath the bridge, and a decking was
incorporated upon which the team could stand to remove the bridge decking.
Here some timbers are being prepared to be lifted clear by the railway's
diesel rail crane (as opposed to the steam crane) which was being used for
the day.
(c) William Lister.
|
|
|
|
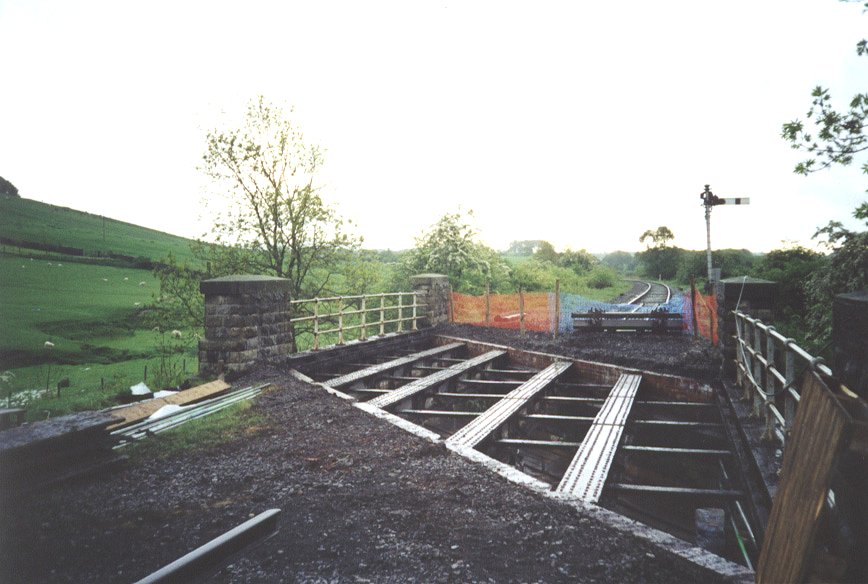
Looking towards Bow Bridge Loop the girders are apparant in this view of the bridge without its decking, so that their
condition can be more thoroughly assessed.
(c) William Lister.
|
|
|
|
New girders were puchased for Bridge 21 and delivered to the Railway. At the same time, there was a rethink as to how the
work would be carried out, with the result being that DRAB construction took the job on. The plan was to replace girders 1,
2, & 3 with new ones, insert a new girder in the centre of the formation, refurbish 1, 2 & 3 and use these to replace
6, 5 & 4 respectively. However, when these were removed it was decided NOT to try and refurbish them, but to acquire new
girders when they are required.
(c) Tim Warner.
|
|
|
|
The old beams 1, 2 and 3 were craned out, allowing the new ones to be inserted, as can be seen here. The brickwork at the end
of the beams still requires replacing in this picture, and the following one, owing to the difference between the new and old
beams.
(c) Tim Warner.
|
|
|
|
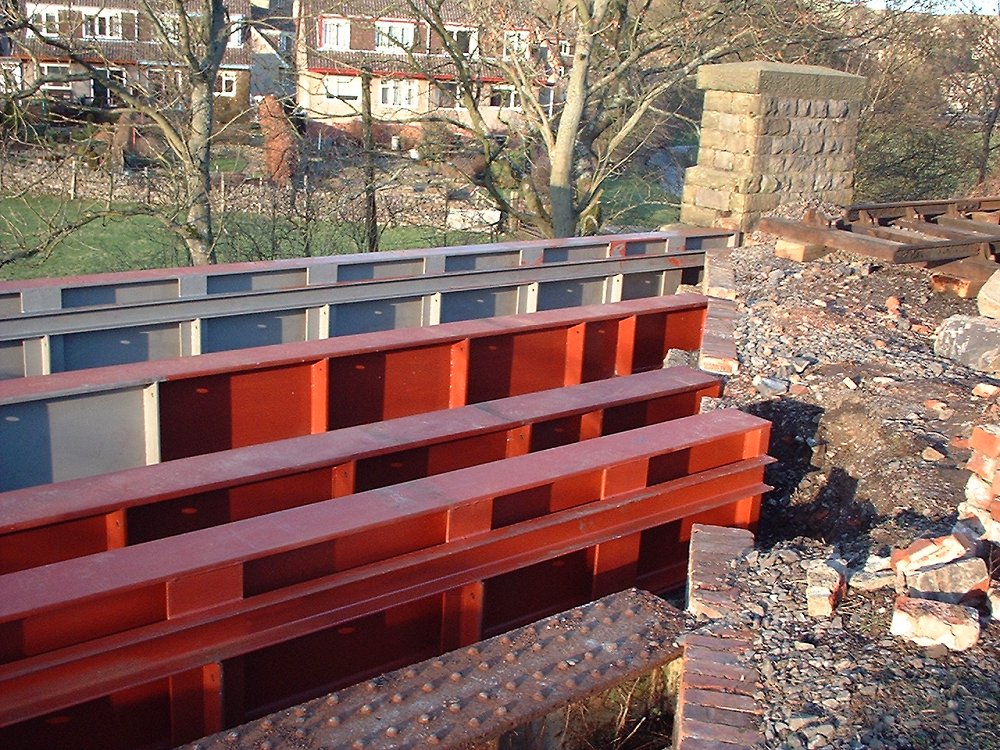
Seen side-on, the new beams are undergoing painting in situ, prior to tie bars being fitted and handrails. The remaining old
beams (4, 5 & 6) will be exchanged at a later date.
(c) Tim Warner.
|
|
|
|
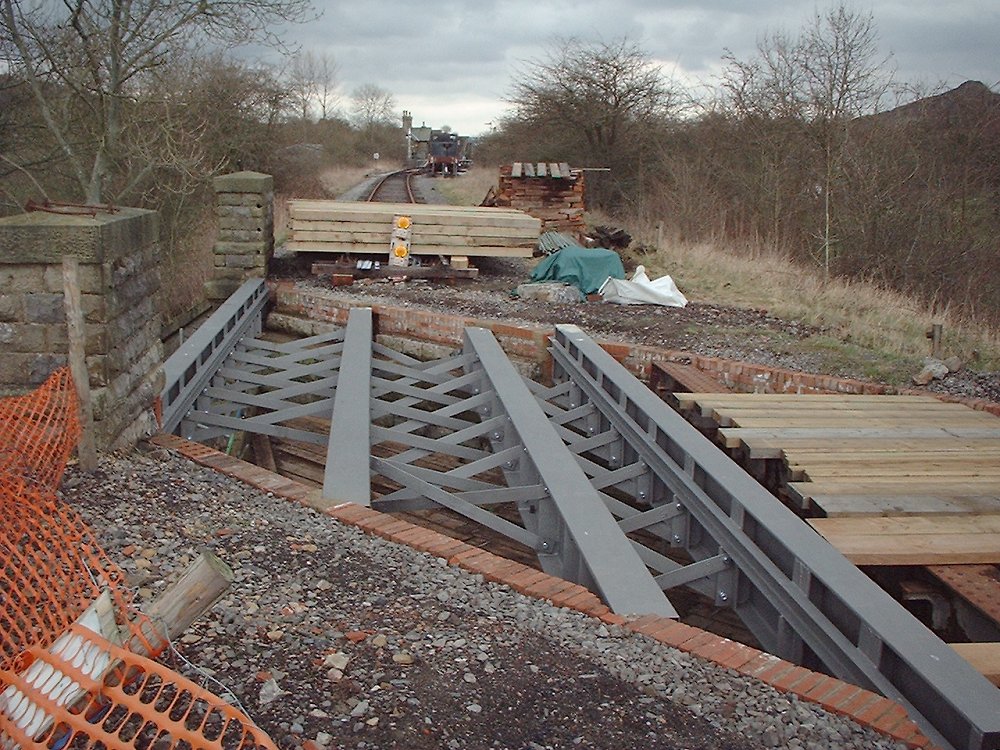
The beams are seen in their final locations, painted and with the ties also fitted. This is looking towards Embsay station as
the timber for the decking is installed.
(c) Tim Warner.
|
|
|
|
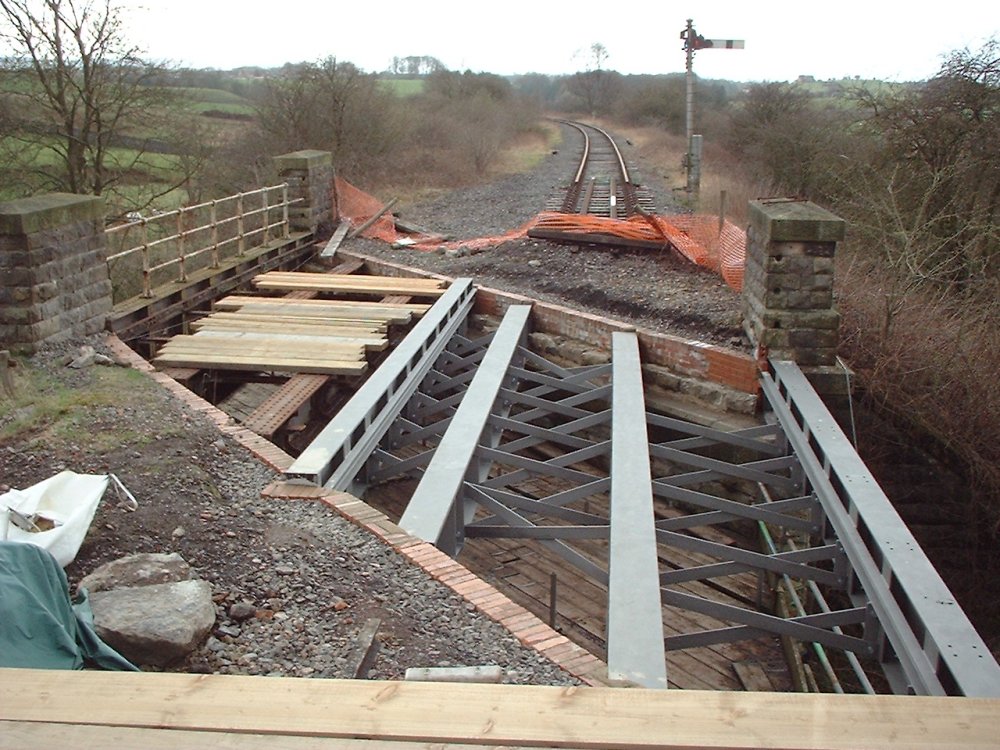
Looking the other way...
(c) Tim Warner.
|
|
|
|
Timber beginning to be laid for the new bridge decking whilst someone positions one of the original handrail supports in
position prior to its attachment and painting.
(c) Tim Warner.
|
|
|
|
The line lies slumbering, waiting for the return of trains as the bridge nears completion. The first event held that made
intensive use of the Bow Bridge section was the Harvest of Steam which saw the Sentinel, Ann hauling
its first ever passenger trains. Event Photos.
(c) Tim Warner.
|
|
|
|
The first shuttle service to Bow Bridge each day only featured the Peckett, and therefore it had to run round its carriage
before heading abck to Embsay. This provided variety, and also operational ease to get things in the right place. The
embankment allows for easy viewing of the trains here, Embsay Junction being to the left, and Embsay Station to the right, with
the Crag in the background.
(c) Tim Warner.
|
|
|
|
At Bow Bridge loop with Ann, the L&Y Directors' Saloon and visiting Peckett No.1438 from Scunthorpe.
(c) Tim Warner.
|
|
|
|
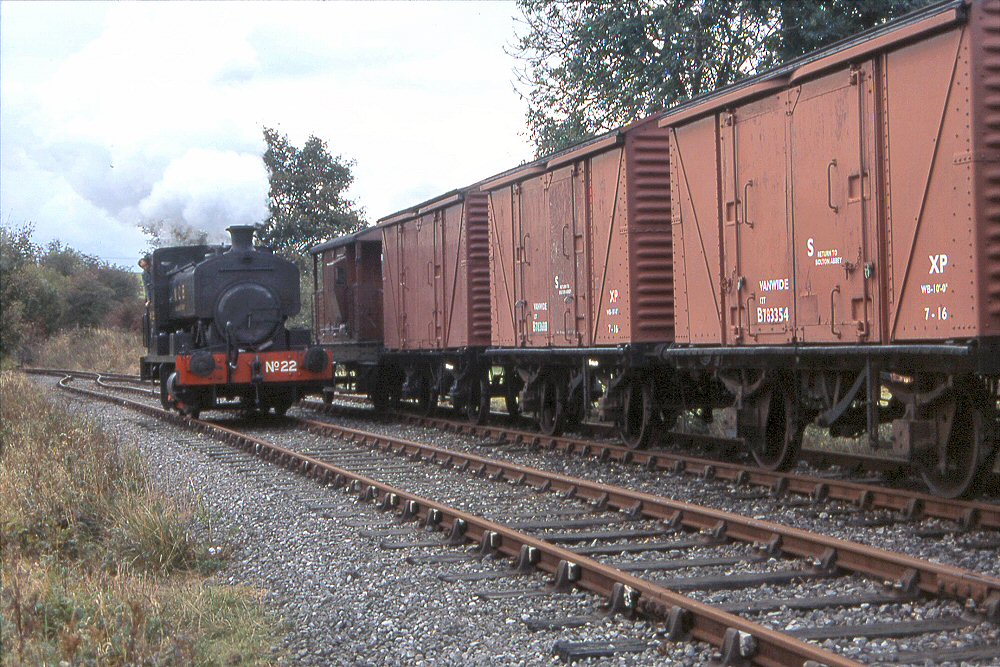
Upon arrival at Bow Bridge loop, No.22 runs round past the boxvans, ready to head along the full length of the line with the
final goods train of the event.
(c) Tim Warner.
|
|
|
|
|


|