|
|
|
|
Home - Location - Timetable - Facilities - FAQs - Events - Stately Trains
News - Photogalleries - Digital Archive - History - Shops - Departments Stocklist - Projects - Signalling - Membership - Volunteering - Links
|
|
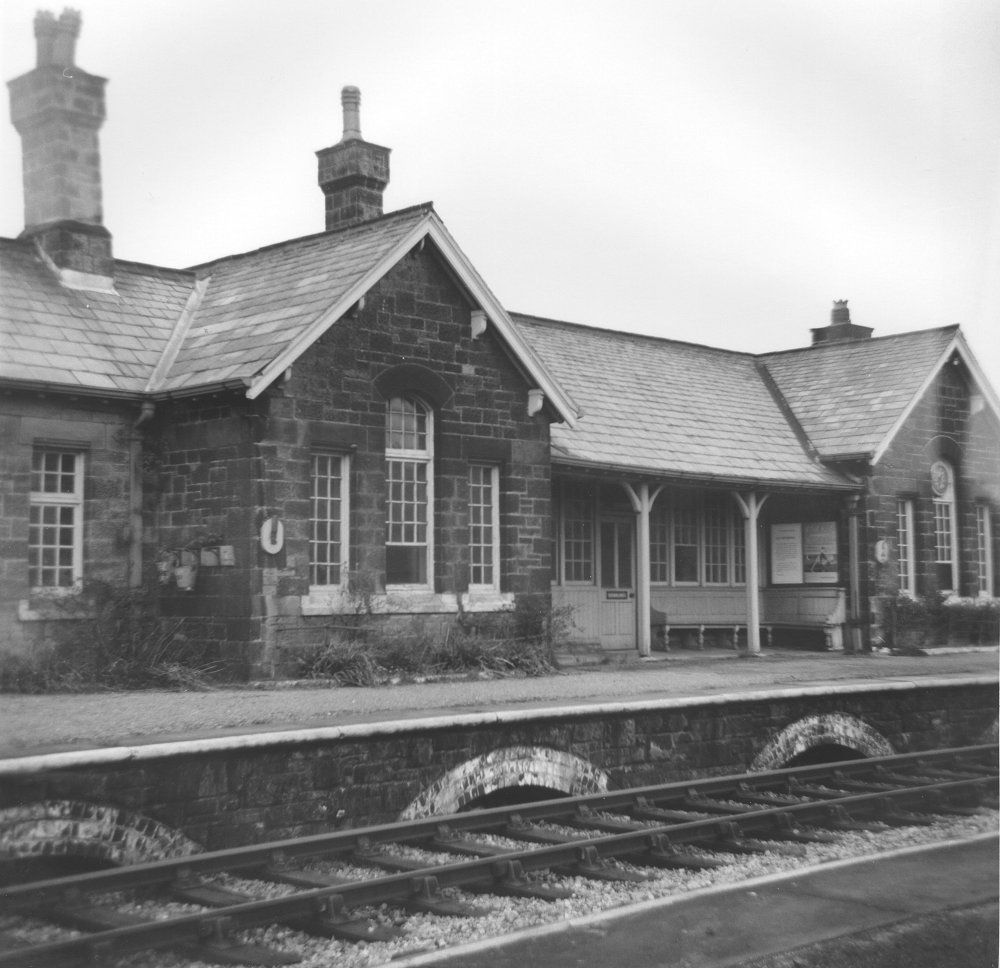
Embsay station, complete with L-shaped bench, and possibly closure poster alongside the advert.
(c) David Cash.
|
|
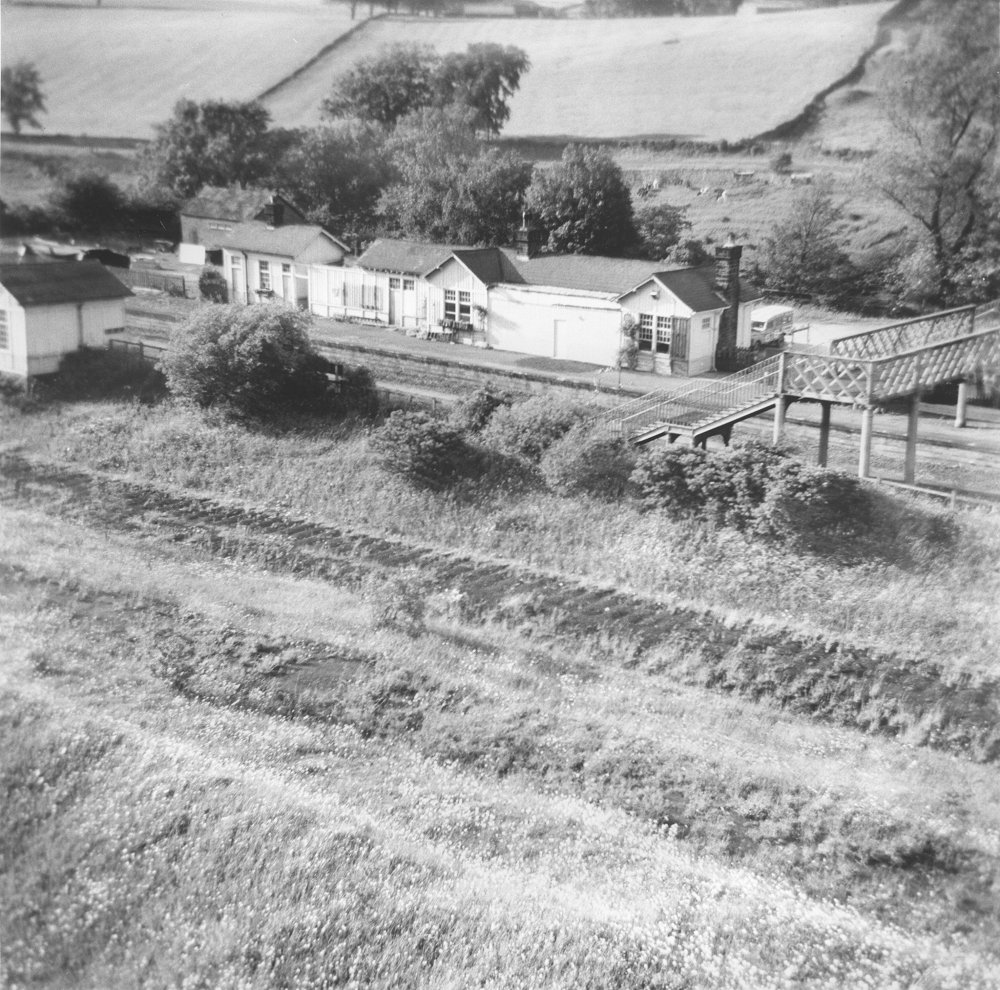
The view from the footbridge, looking over the yard towards Bolton Abbey. The sidings are MUCH fuller now, and the new shed
also change the scene dramatically.
(c) David Cash.
|
|
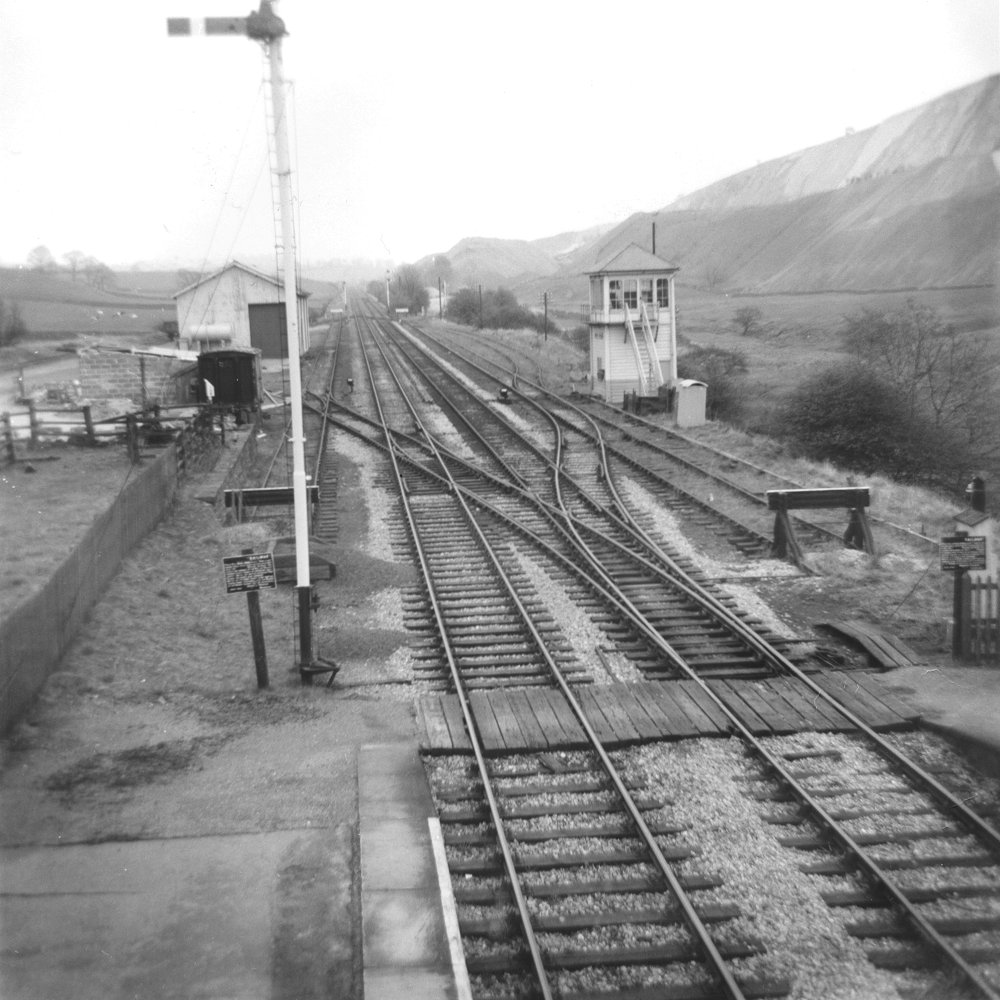
View from the cattle dock towards the still-complete signalbox. The interlocking has only had to be modified slightly for
use in preservation. The cattle dock is currently used for servicing / preparing locos, but with the new shed it is hoped
to move this elsewhere, allowing the cattle dock to revert to its former use.
(c) David Cash.
|

|
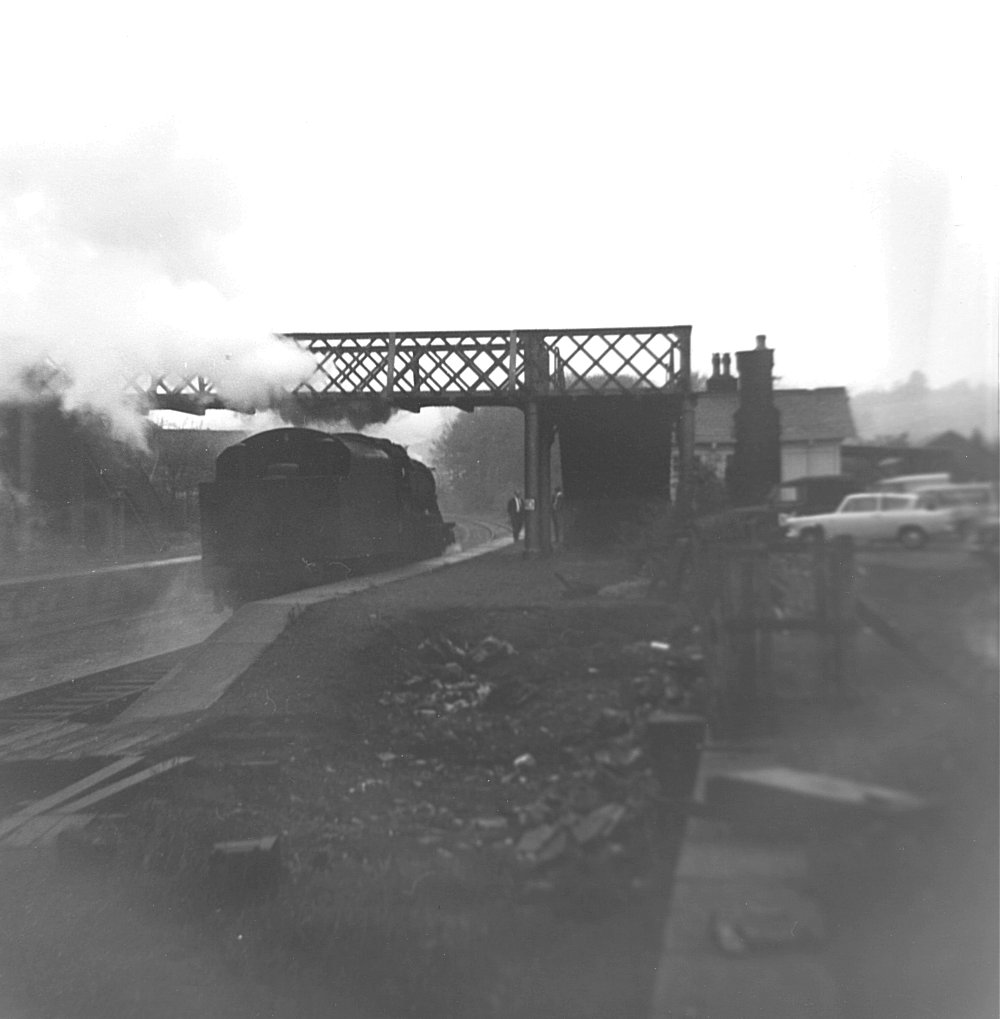
One scene that has hardly changed - only the removal of the footbridge guard rail has altered this photo, and the
improvement in the painting of the brick arches.
(c) David Cash.
|
|
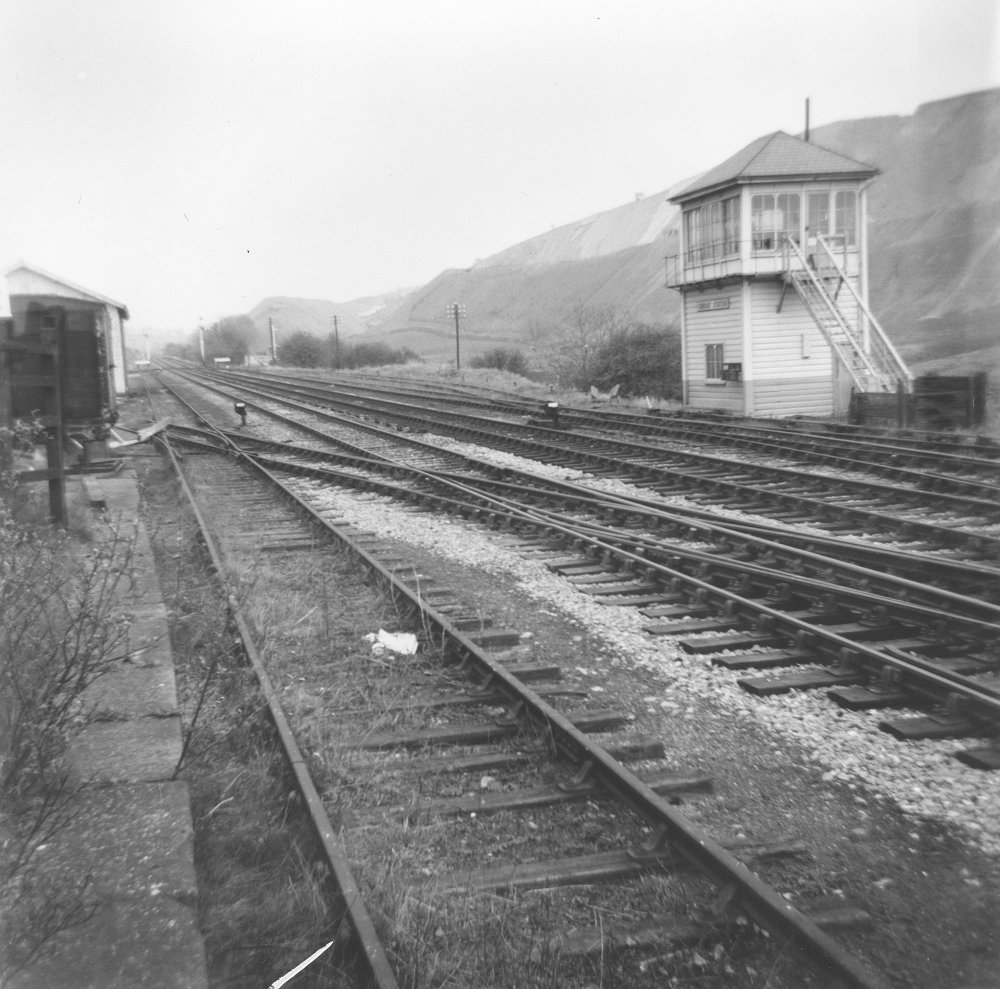
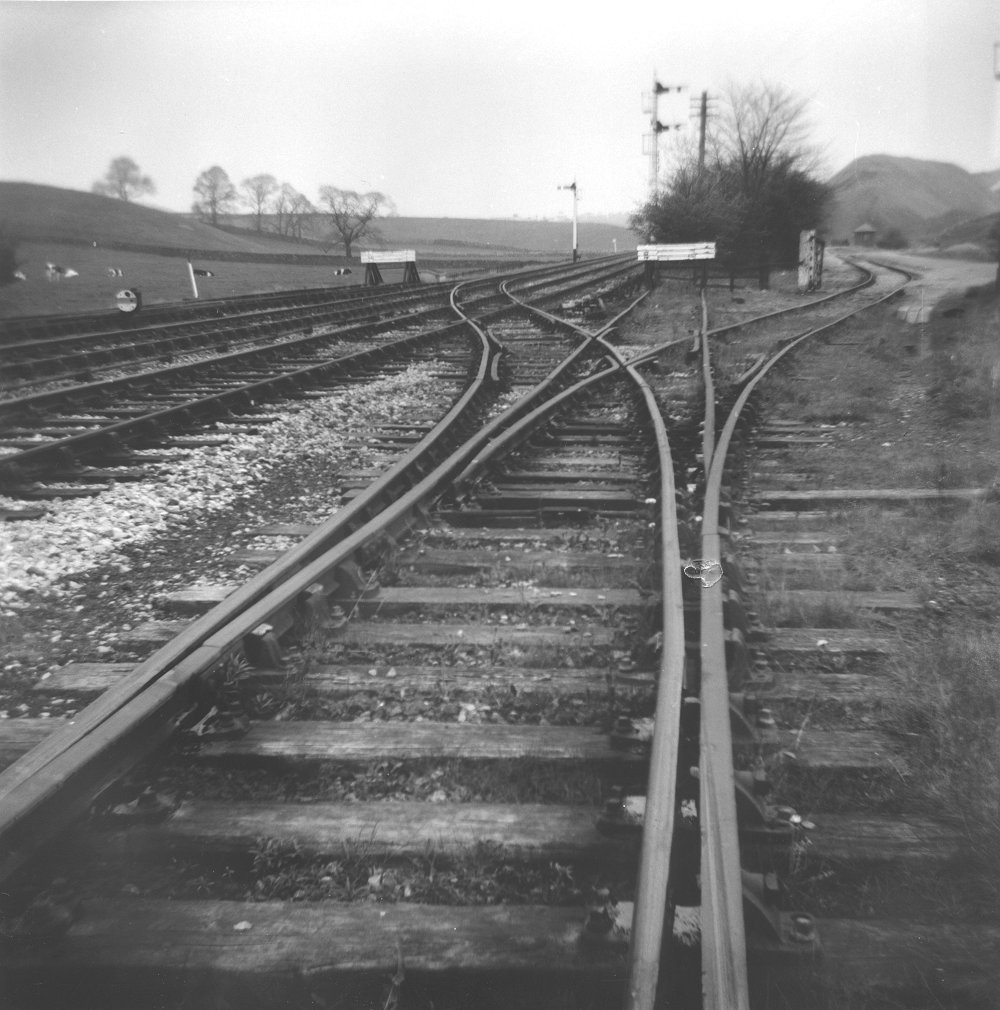
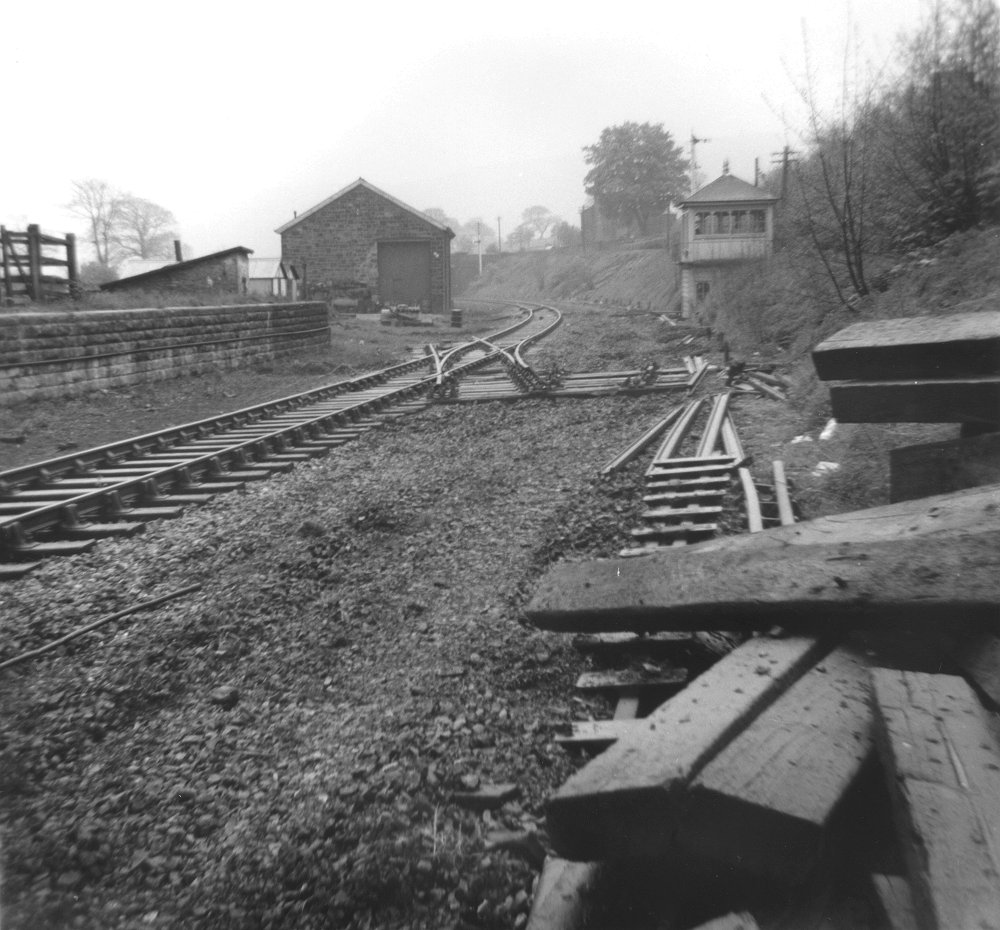
This is the headshunt for the top yard, as was, with a double slip, looking towards Bolton Abbey. The signal visible is in
approximately the same place as No. 4 now.
(c) David Cash.
|
|
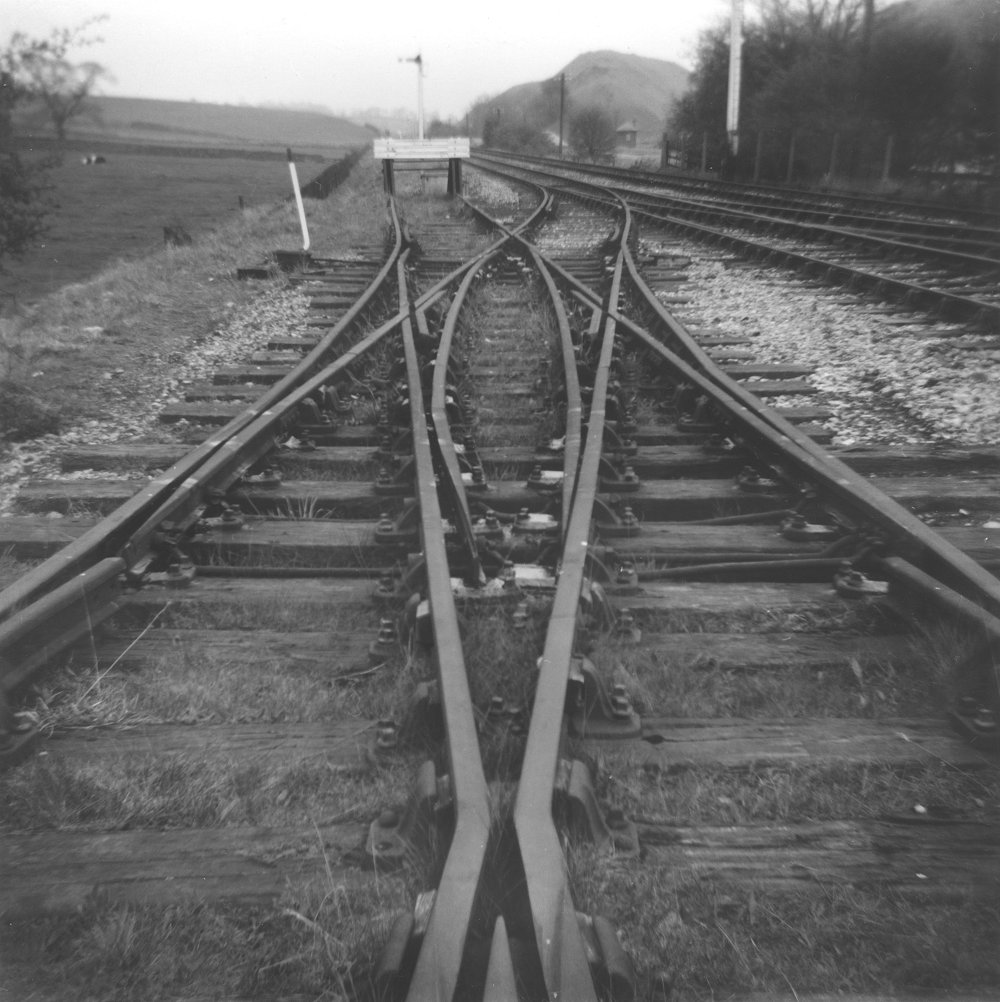
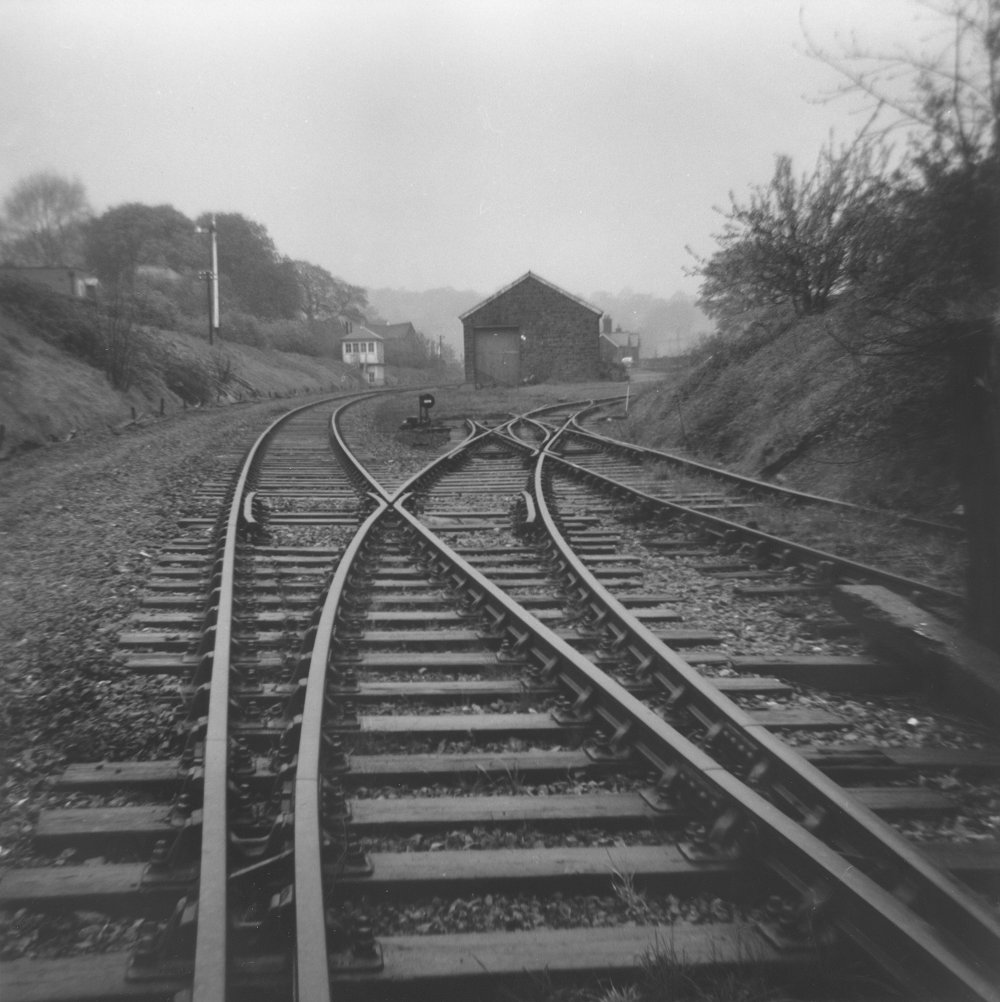
Across the other side of the main line, and this three way point controls access to the quarry (to the right).
(c) David Cash.
|

|
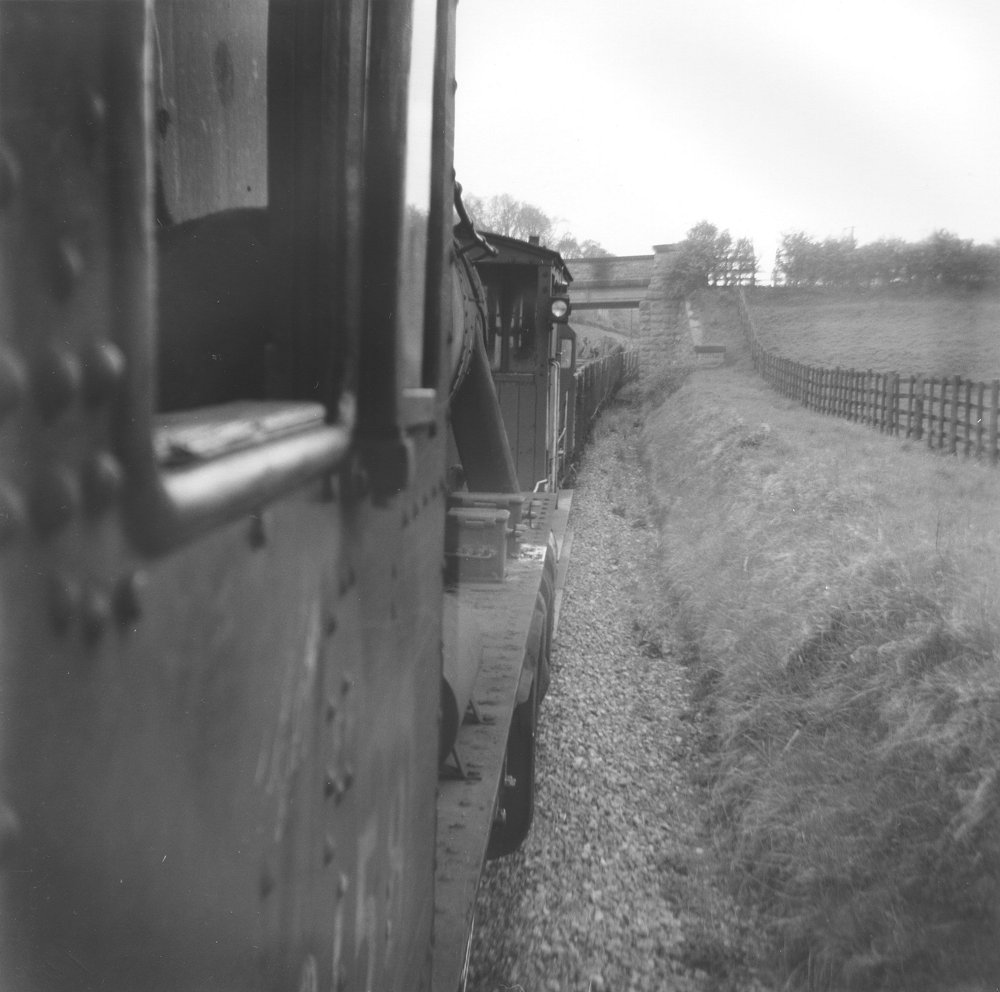
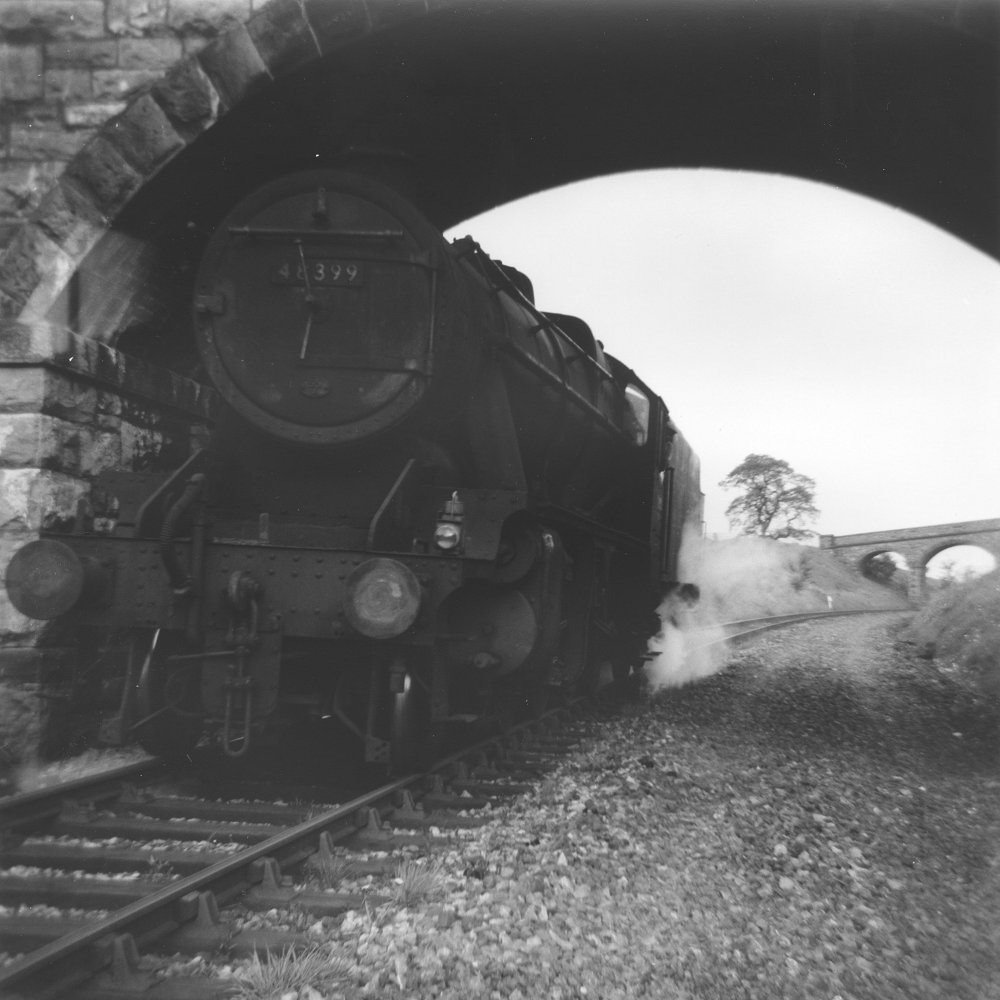
A jump is now made to Prior's Lane, the bridge in the background. This photo was taken from the footplate of an 8F, possibly
on one of the demolition trains.
(c) David Cash.
|
|
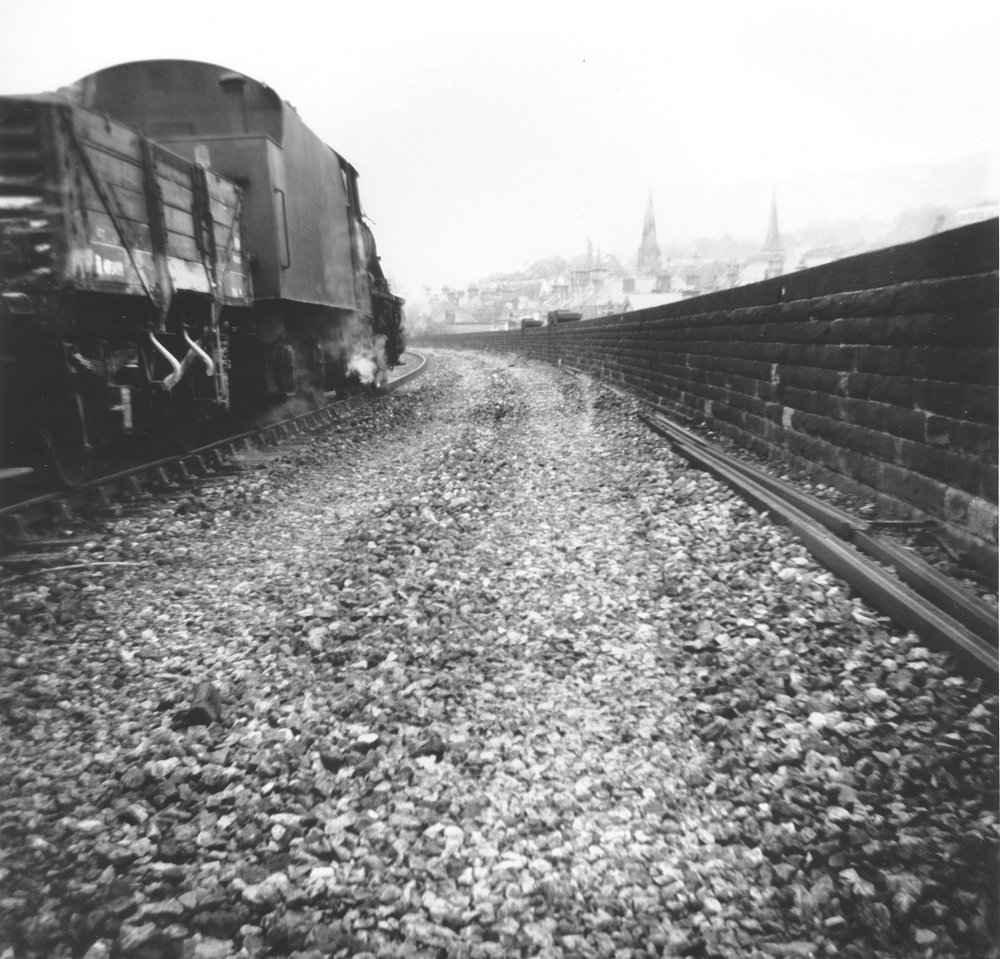
Almost certainly the same train, the other side of the bridge, looking back towards Embsay.
(c) David Cash.
|
|
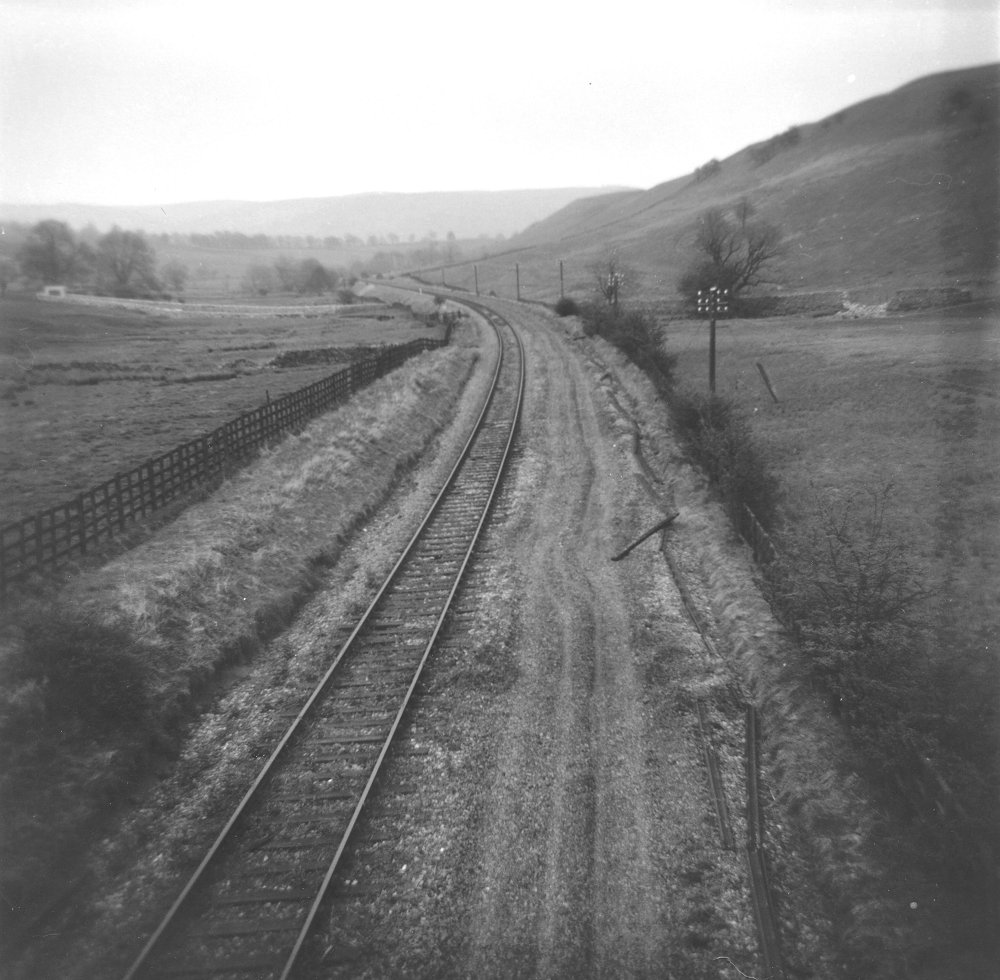
This time we see the view from Prior's Lane bridge, looking towards Bolton Abbey. This view now contains more lineside
greenery, but is otherwise VERY similar, with single track. Note the lifted (and cut?) rails from the other line.
(c) David Cash.
|

|
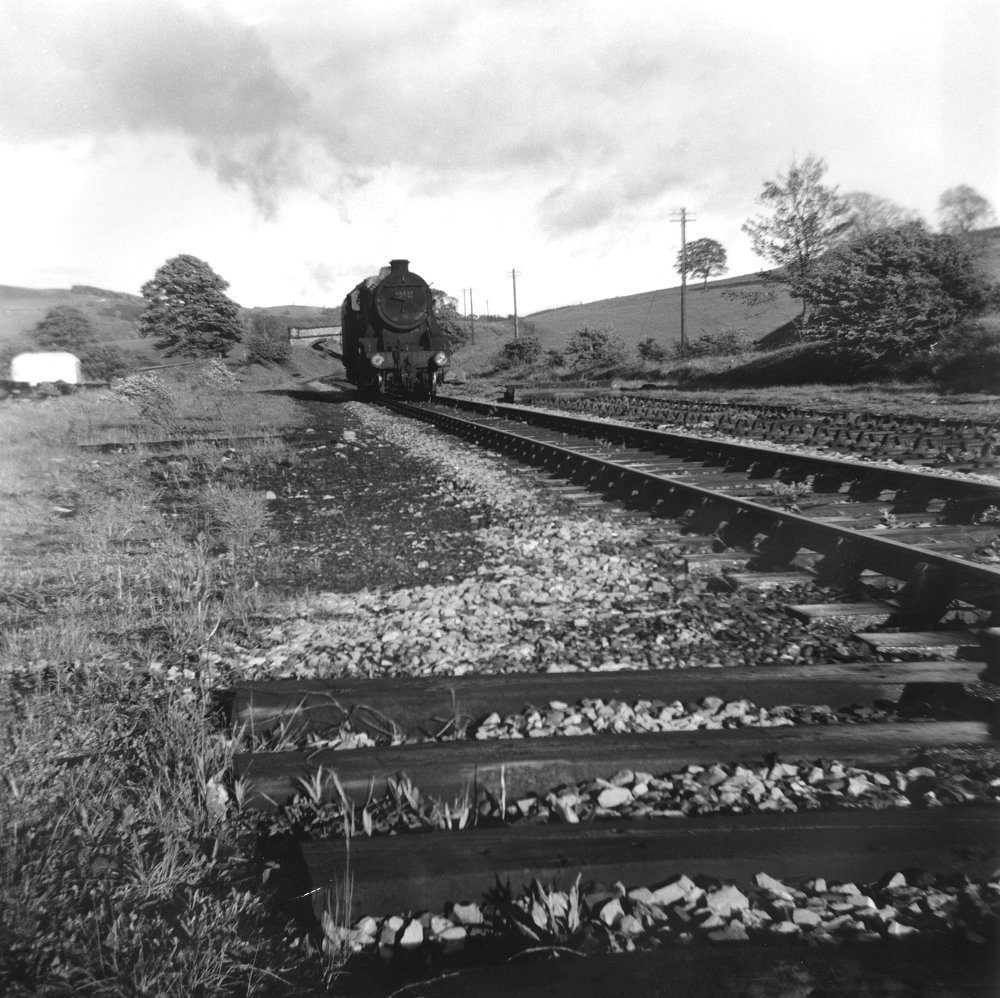
Another 8F at Prior's Lane, running light engine.
(c) David Cash.
|

|
An overview of Bolton Abbey station, after closure. Note the brick ablutions block, left over from the station's use during
WWII. Also worth noting are the remains of the building on platform 2. Since closure, the ground has been altered, and so the
new layout has access to the sidings from the Embsay end.
(c) David Cash.
|
|
Another view of the station, showing how the building has been altered in private ownership. Also visible are the indentations
from the sidings in the foreground, which originally led to the quarry.
(c) David Cash.
|
|
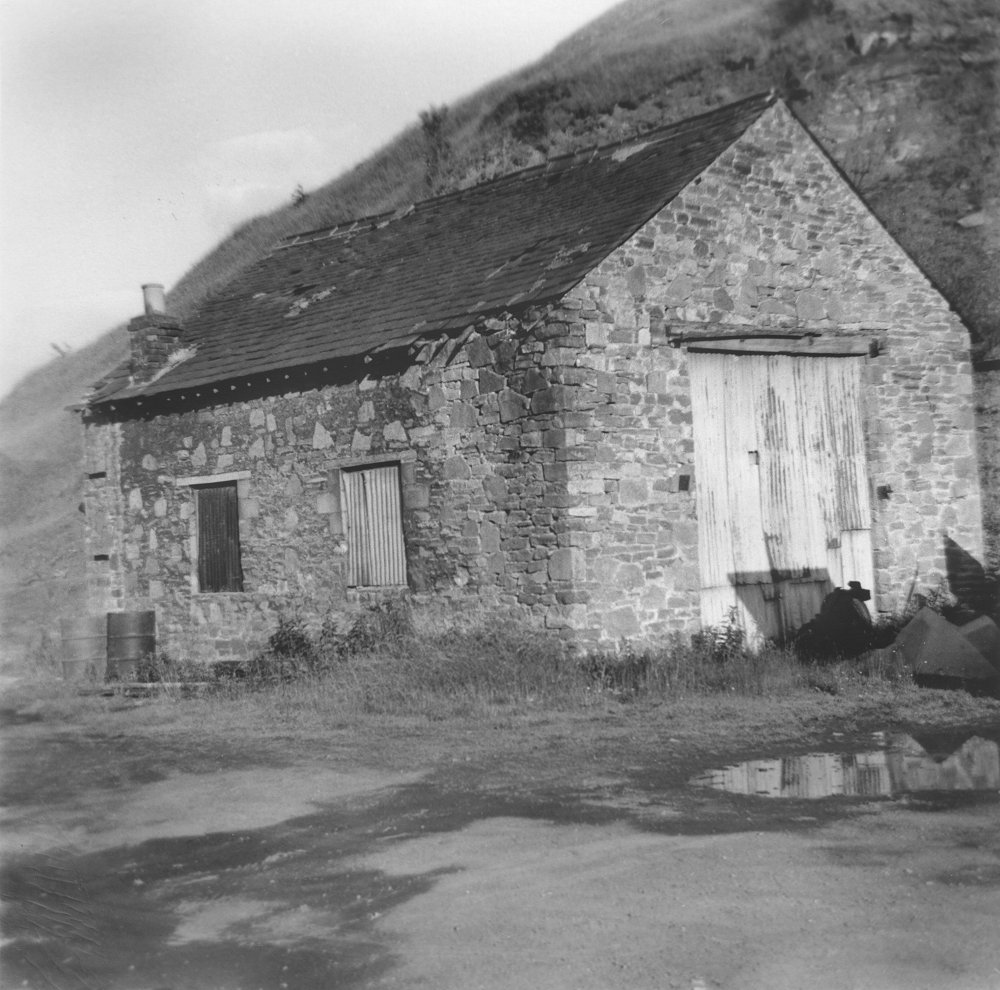
Although somewhat derelict in this picture, this is the sole remaining quarry building, and its condition is only marginally
worse today. It is thought that this was some form of engine shed linked to the quarry, but its exact role is uncertain.
(c) David Cash.
|
|
On board another 8F, entering Bolton Abbey station, with the remains of the trainling crossover visible.
(c) David Cash.
|
|
This selection of photos shows a light 8F running through Bolton Abbey station and onwards. From the number of photos taken,
and the presence of several people on the platform, I suggest that this could be the last loco to run over the whole length
of the line, although I cannot confirm this. The 8F enters the station from Embsay, running tender first.
(c) David Cash.
|
|
Viewed from further down the platform as the loco approaches.
(c) David Cash.
|
|
Running light engine under the footbridge, the loco continues on its way.
(c) David Cash.
|
|
Having passed the photographer, the 8F continues on towards Adding ham, passing the remains of the goods yard to the left
and the other line.
(c) David Cash.
|
|
Another photo, probably at the Addingham end of Bolton Abbey station, about to pass under the bridge on its way.
(c) David Cash.
|
|
From the presence of buildings in the background, I suggest that this picture was taken in Addingham goods yard as the cutting
seems to match that in this photo.
(c) David Cash.
|
|
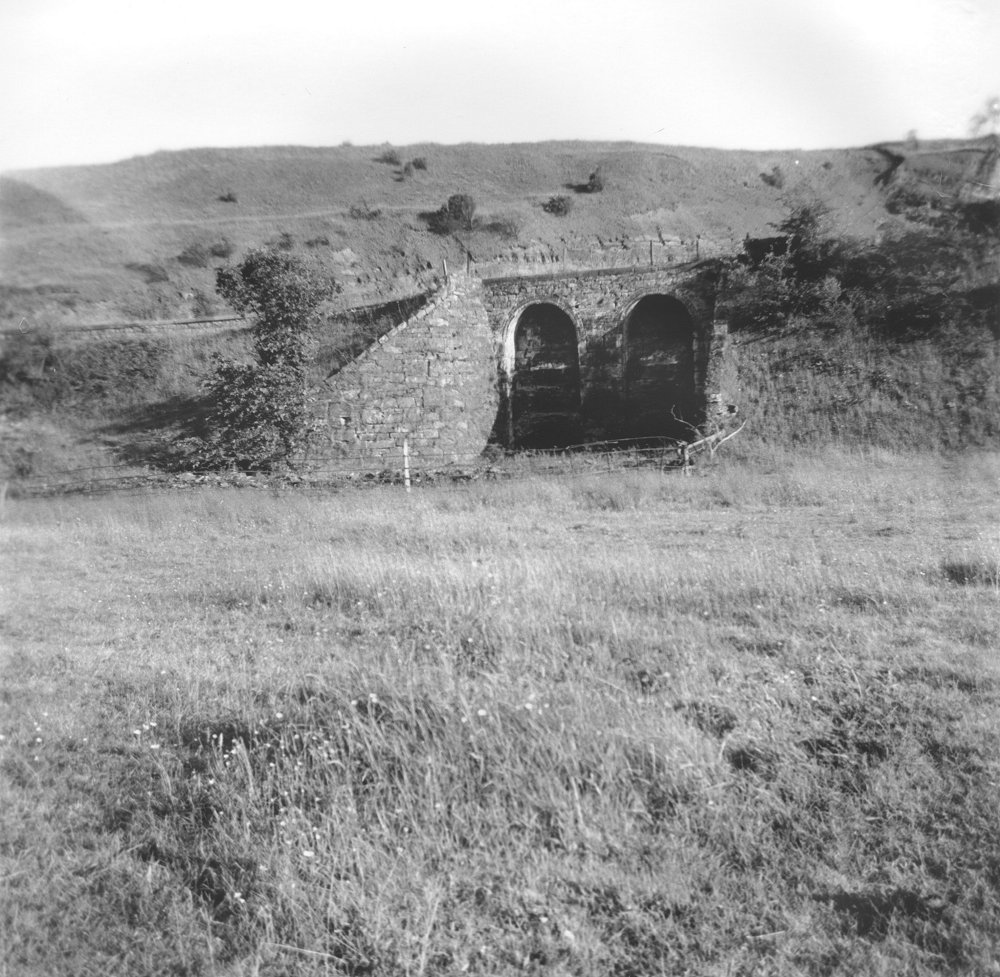
Viewed from the field between the railway and the A59 road, the limekilns at Bolton Abbey are shown. Behind them can be
glimpsed the quarry. The kilns were served by the original Duke's Siding, and remain today, although somewhat overgrown.
(c) David Cash.
|
|
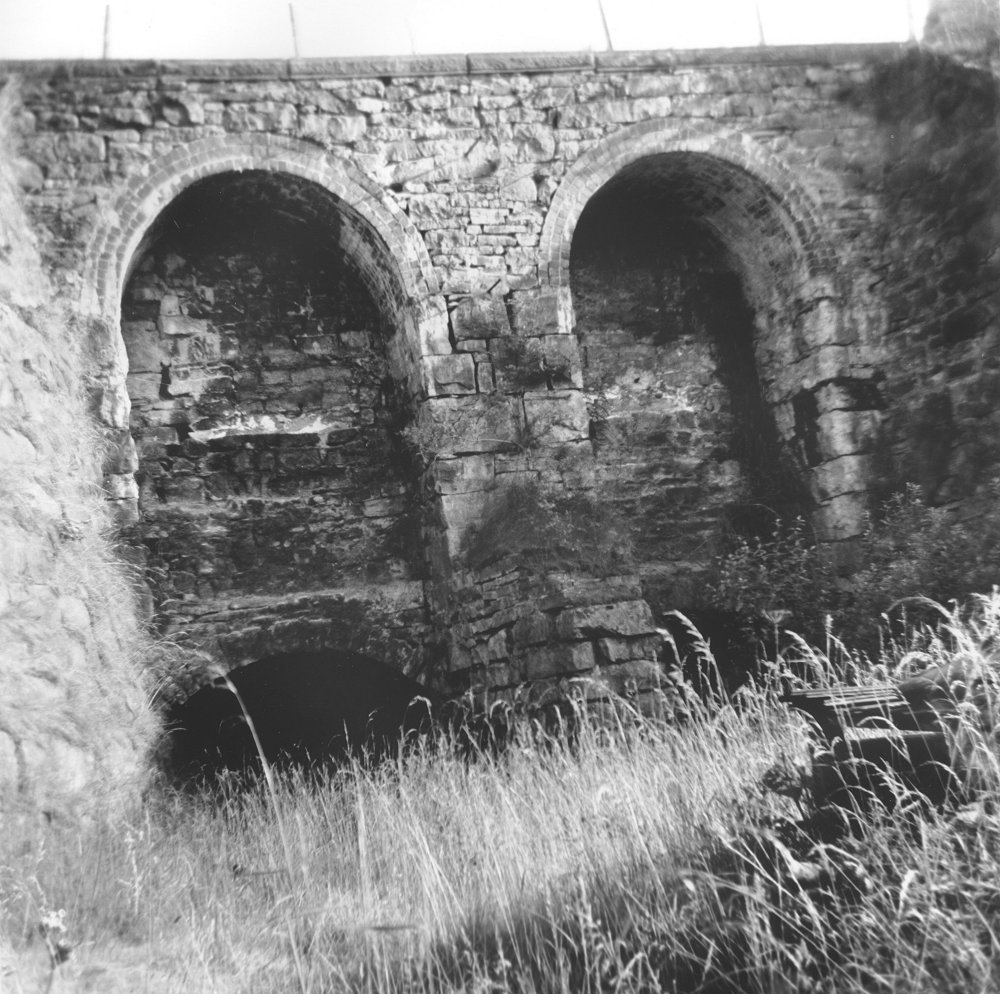
A close-up view of the kilns - trying to take a photo from this location today would be almost impossible without severe
pruning of greenery!
(c) David Cash.
|
|
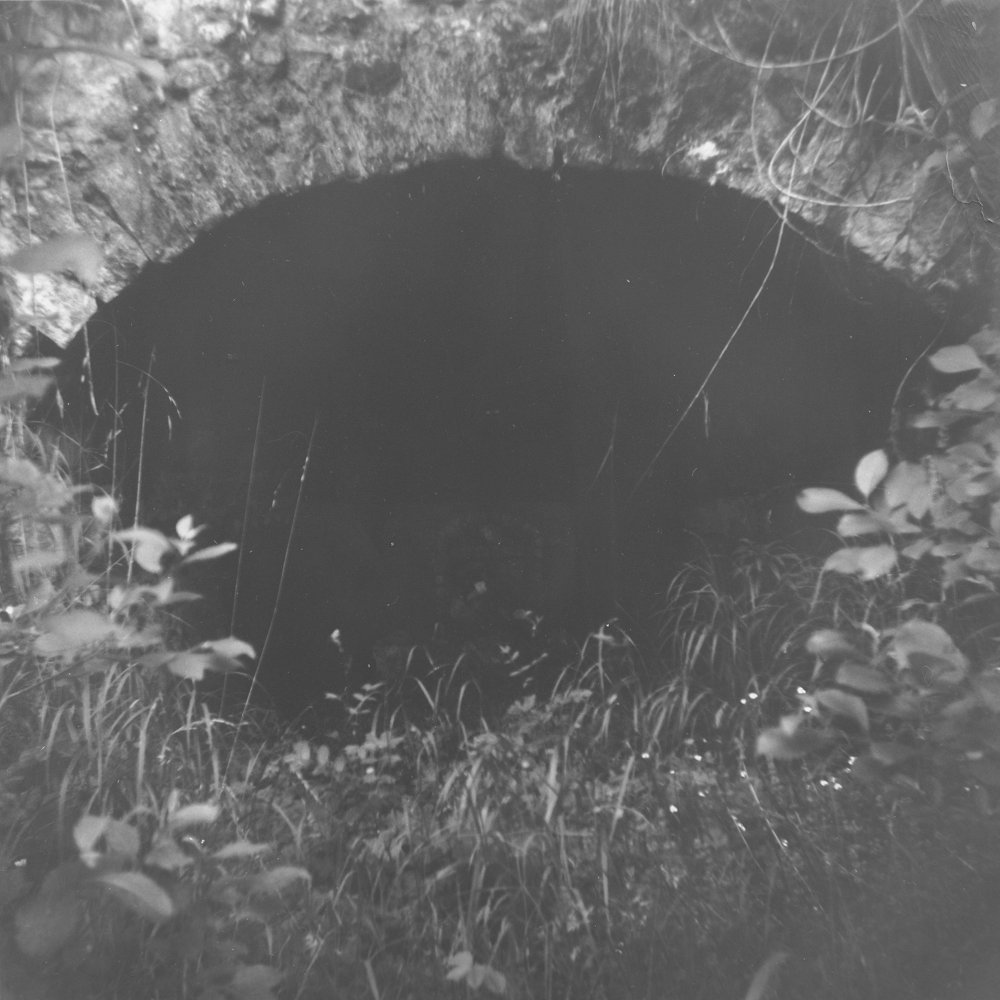
Another close-up of the lower part of one of the kilns.
(c) David Cash.
|
|
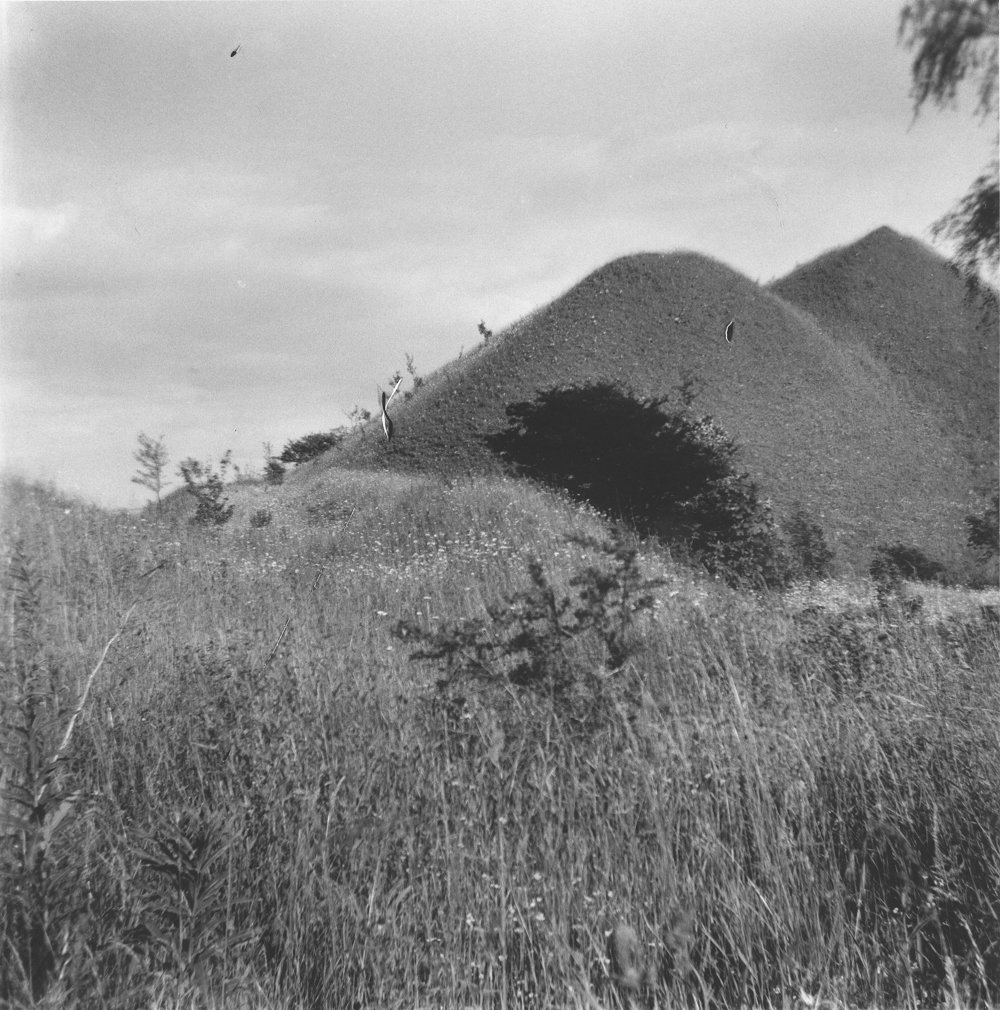
This photo shows the spoil heaps at Bolton Abbey station (Addingham end), in their not-grown-over state - the view today
contains a large number of small trees.
(c) David Cash.
|
|
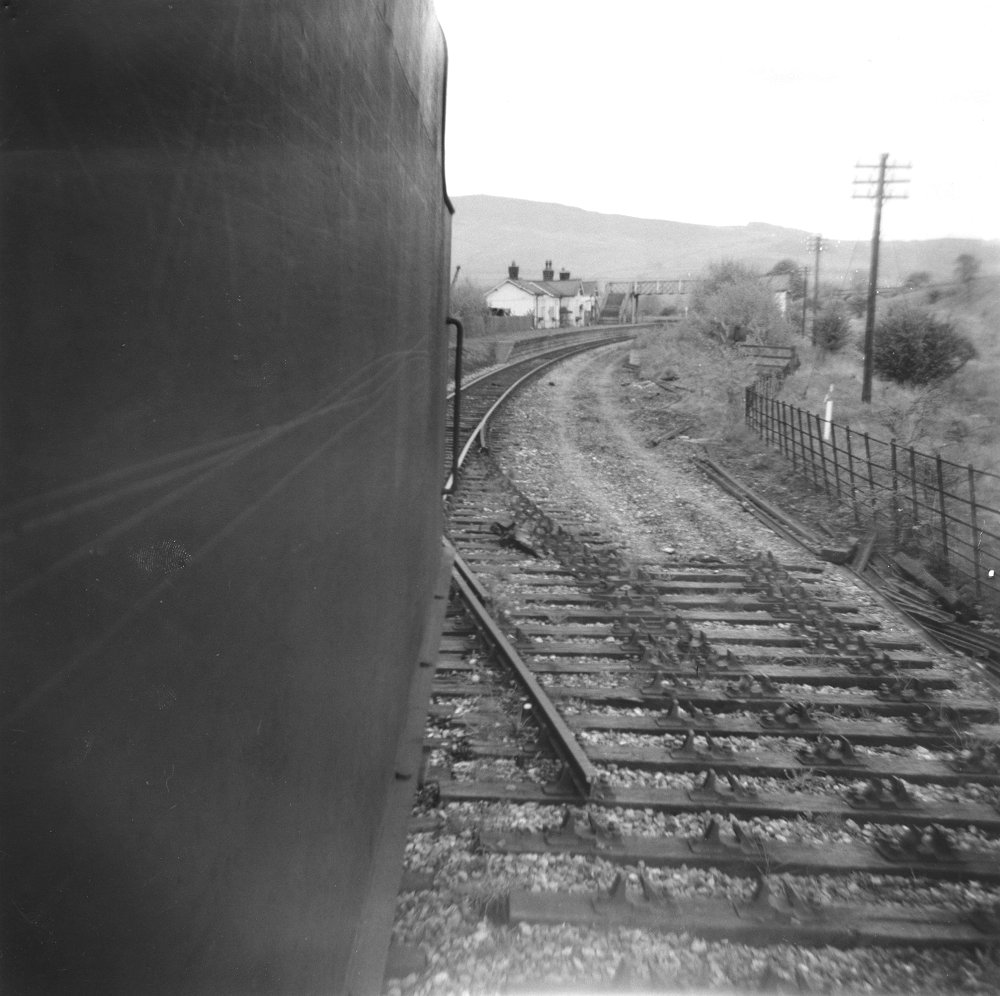
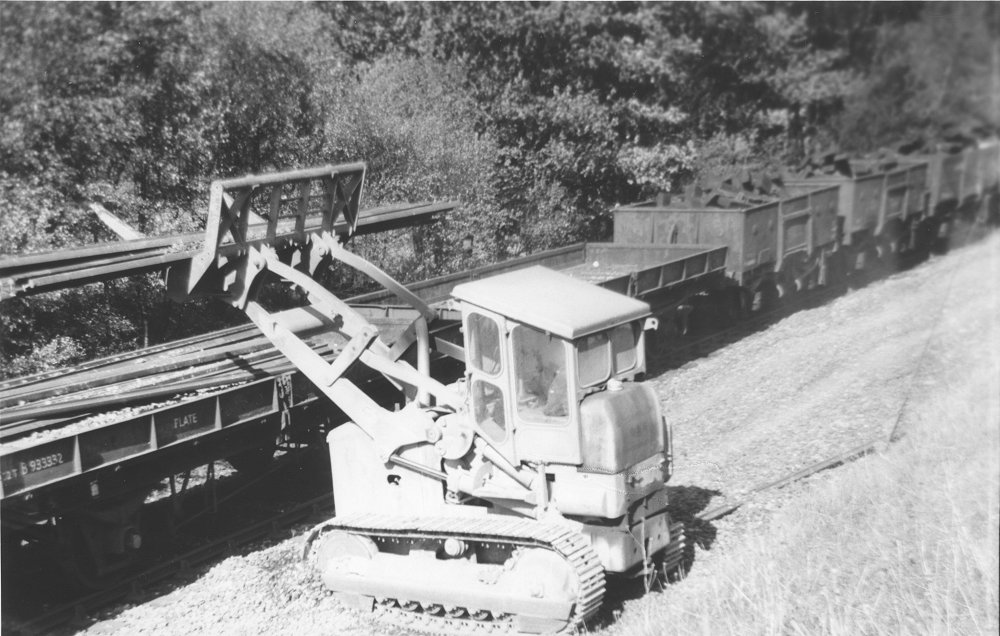
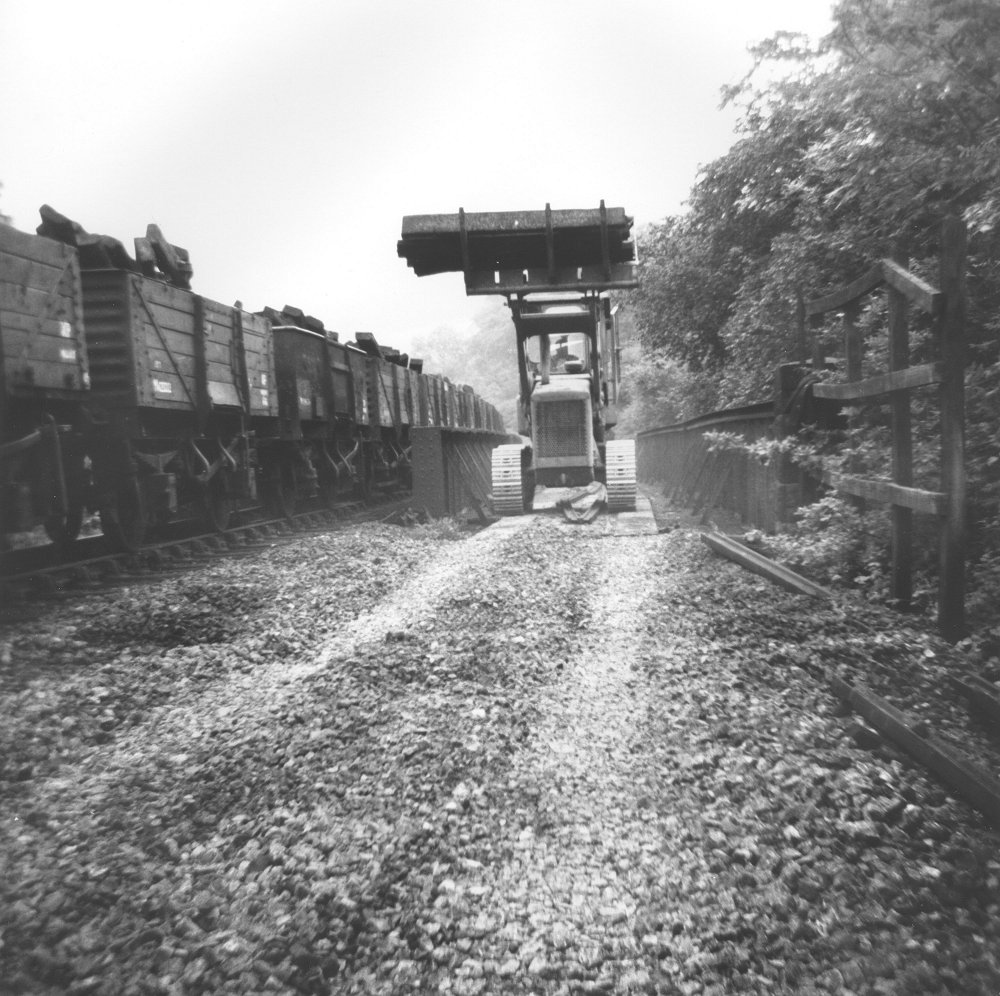
This view appears to have been taken in Hambleton Cutting, showing the demolition train being loaded up with rails from the
other line (down line). The smaller size of the print comes from the camera not winding on correctly, although this hasn't
affected this part of the picture.
(c) David Cash.
|
|
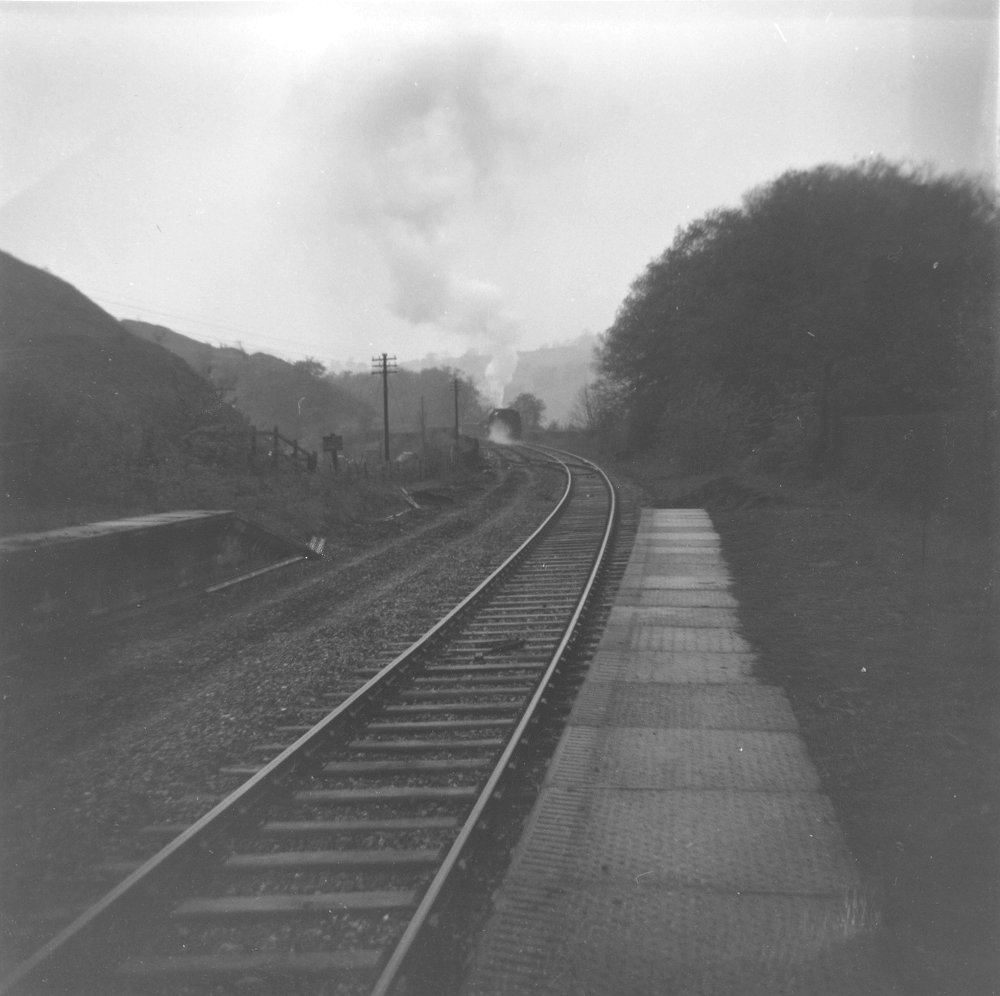
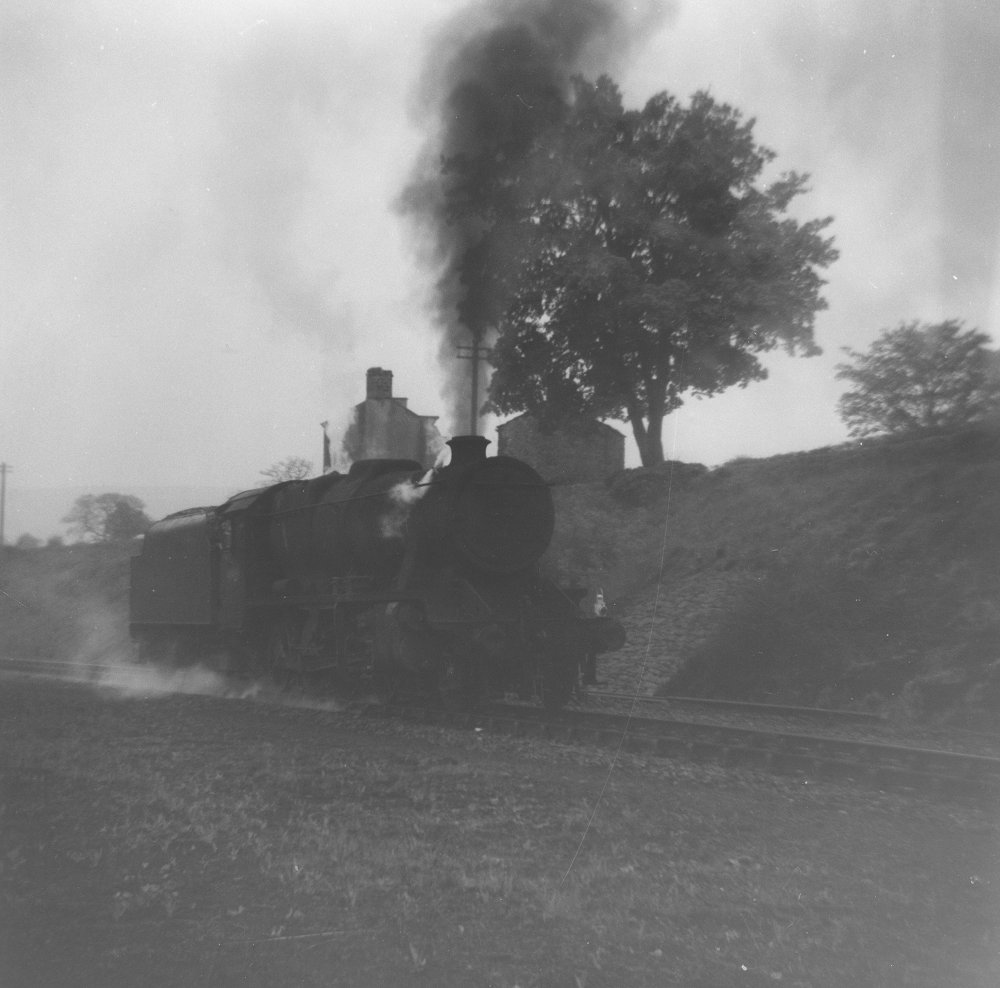
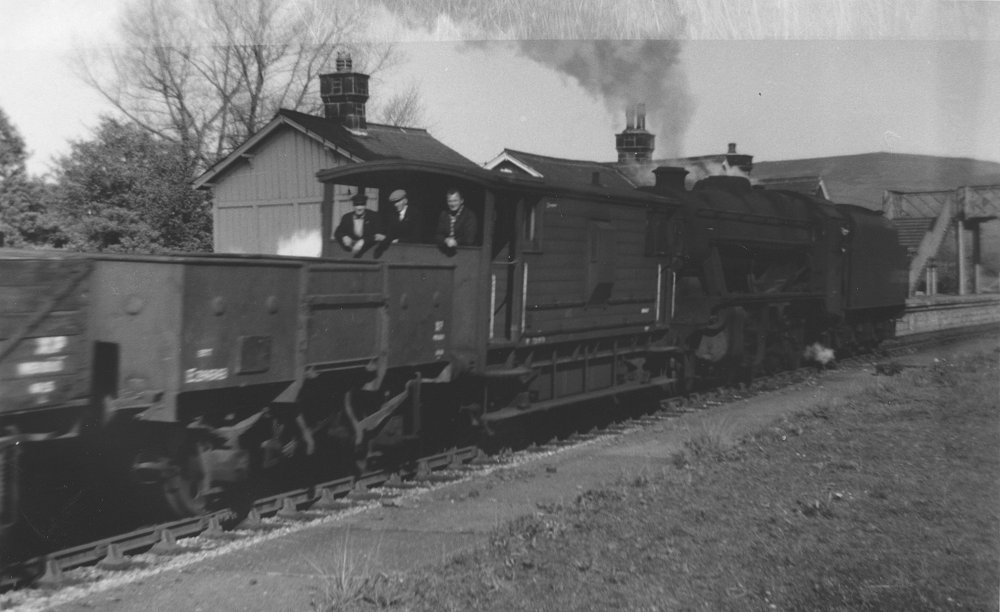
The demolition train heads through Bolton Abbey station with a dirty 8F in charge.
(c) David Cash.
|
|
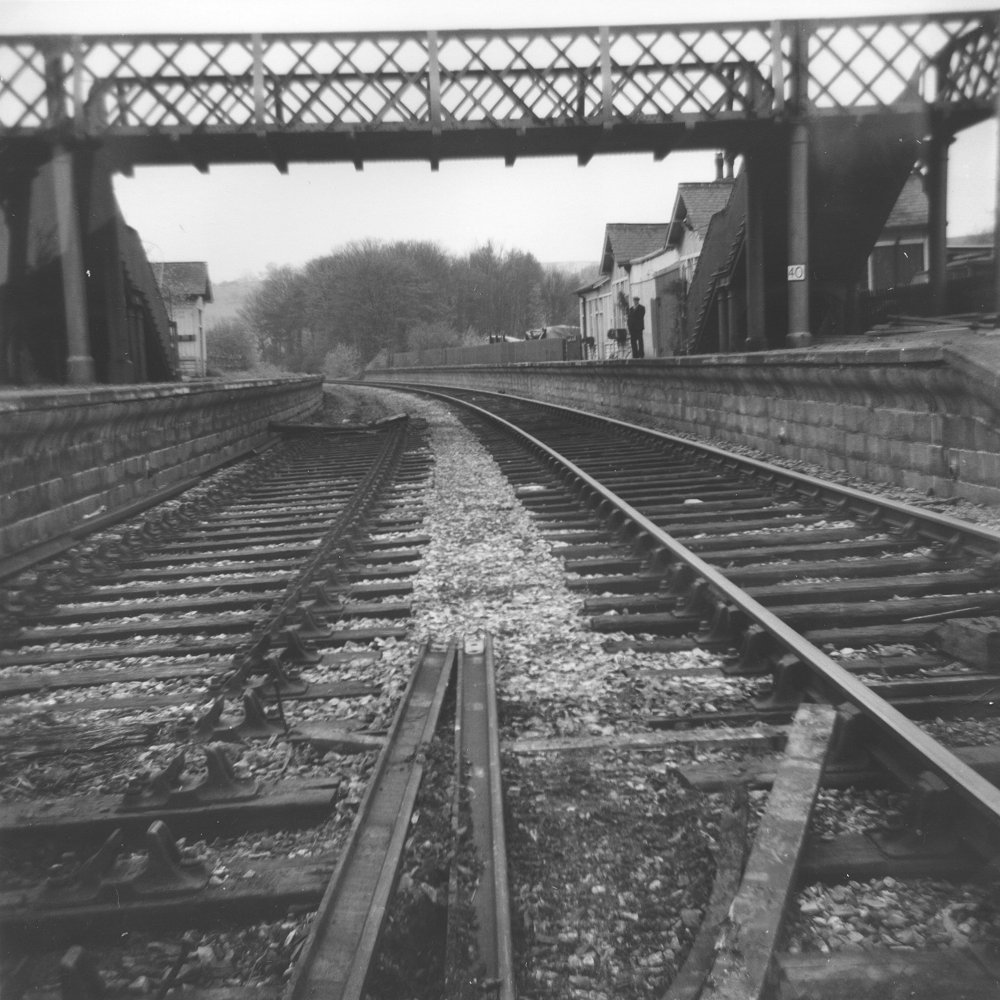
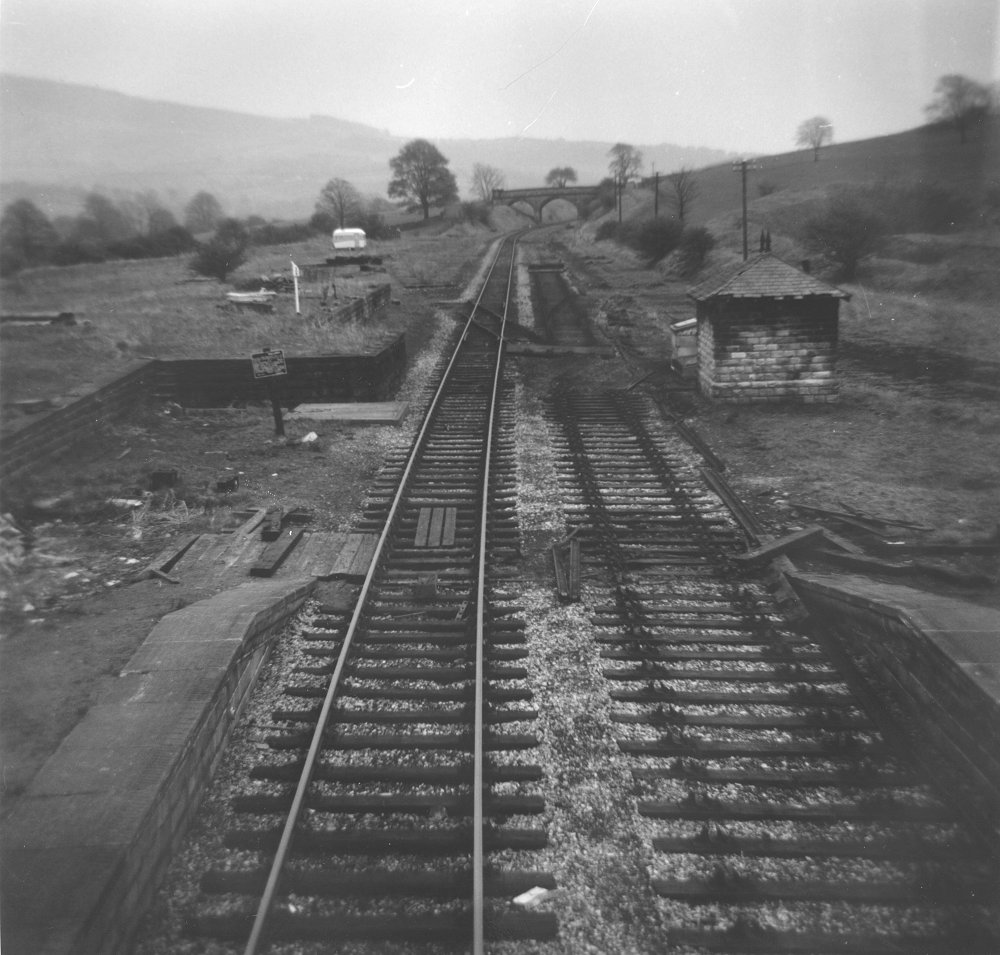
Viewed from the Addingham end, Bolton Abbey station presents a sad sight with the remains of the trailing crossover visible,
as well as the point giving access to the sidings on the quarry side of the line. Note the cattle dock on the right - the
foundations for which were uncovered during the rebuilding of the station. This may yet be re-instated.
(c) David Cash.
|
|
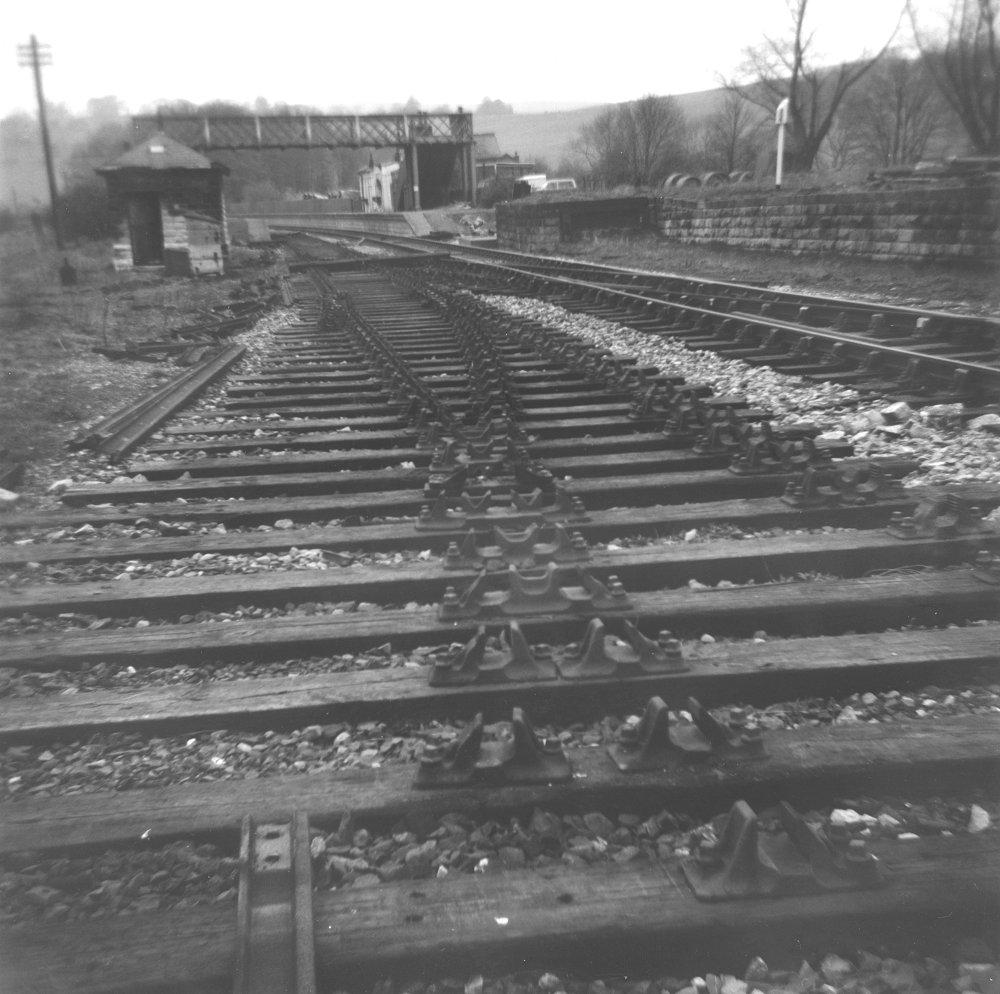
The station viewed through the footbridge, looking towards Embsay, showing the progress made with lifting the track through
the platforms.
(c) David Cash.
|
|
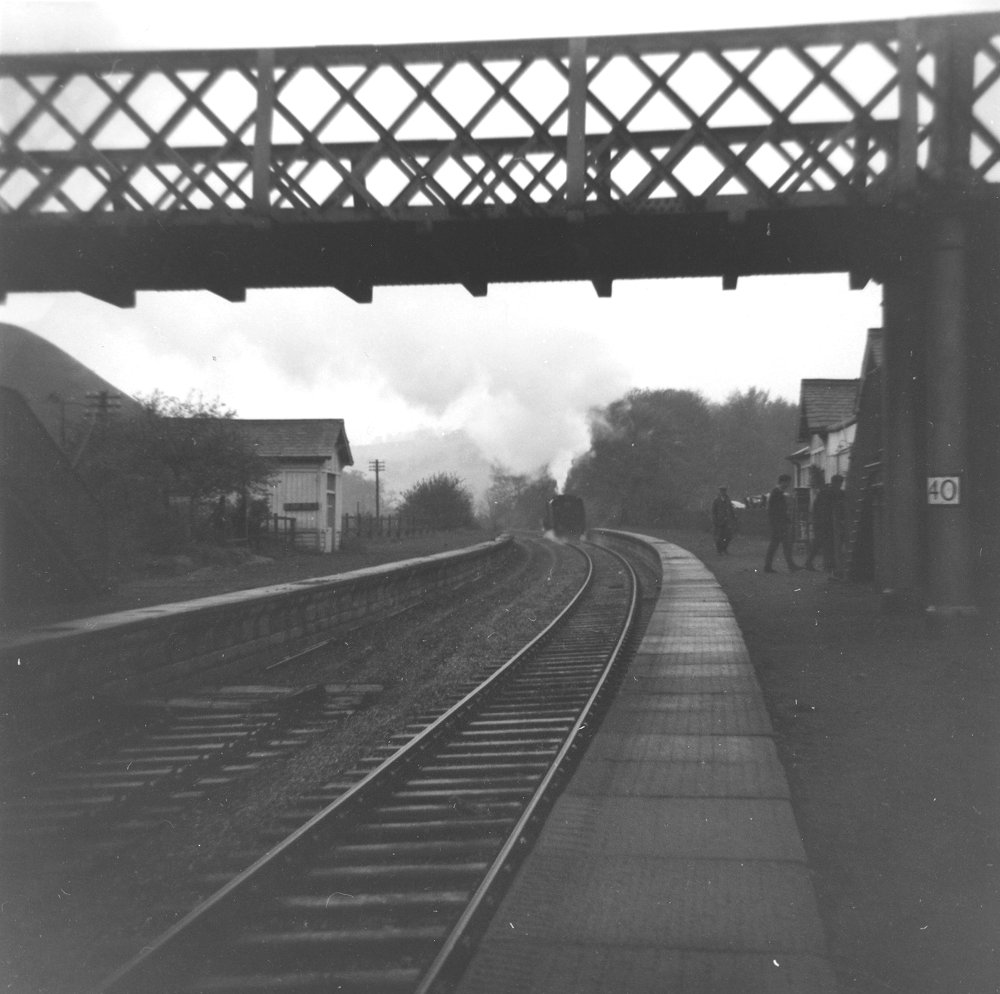
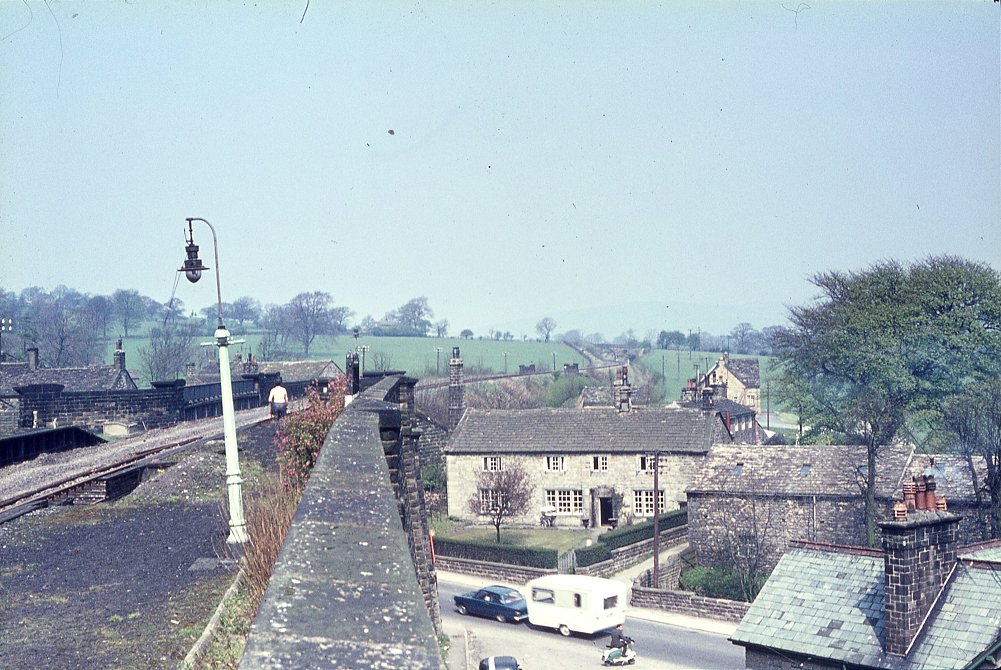
Viewed from the footbridge, looking towards Addingham, the station yard site looks rather bleak - the caravan in the background's
occupiers also took some pictures of the station, and these will be shown shortly. The signalbox was situated to the left of the
photo, at the end platform 1. Its modern day replacement stands at the opposite end. Unusually, the signalling equipment at Bolton
Abbey was dismantled very early on, whereas that at Addingham remained in situ a lot later, as can be seen from the earlier photos.
(c) David Cash.
|
|
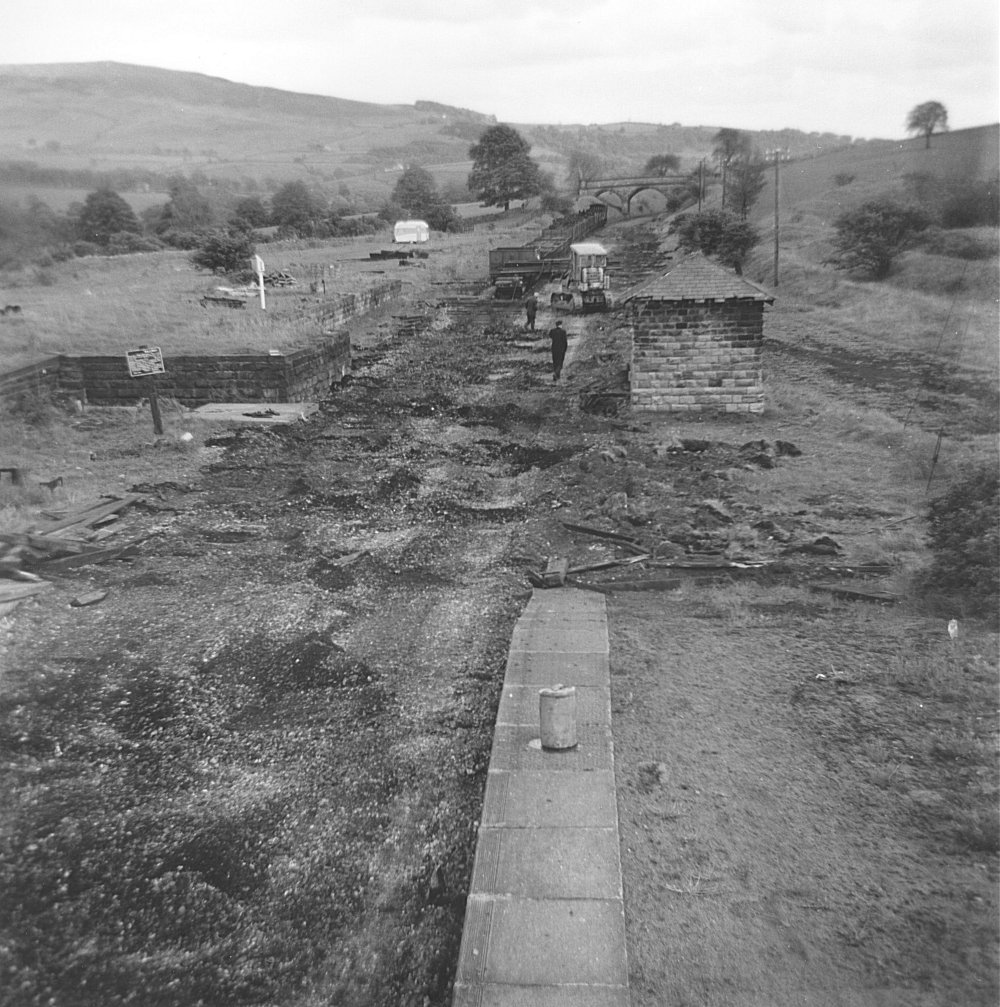
A short while later, and the track has gone completely, witht he final demolition train standing without an engine at the
far end of the site. The stone building in the foreground was a P-Way structure, and was unusual in that it was built of
stone as opposed to wood like the rest of the structures. This may too be replaced at some point.
(c) David Cash.
|
|
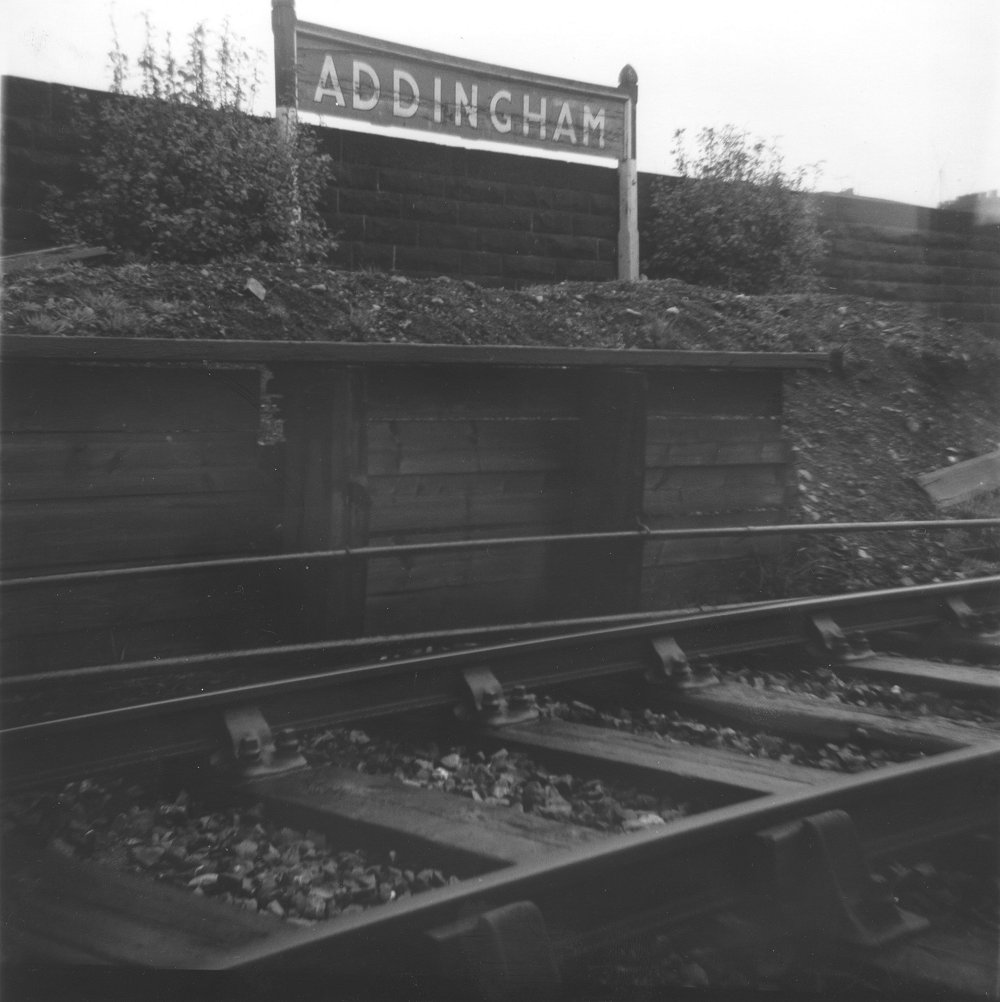
At Addingham station there was a section of wooden platform (over a bridge?), pictured here. Looking back at the colour
slides of Addingham station, the location can be determined as being the Bolton Abbey end
(photo).
(c) David Cash.
|
|
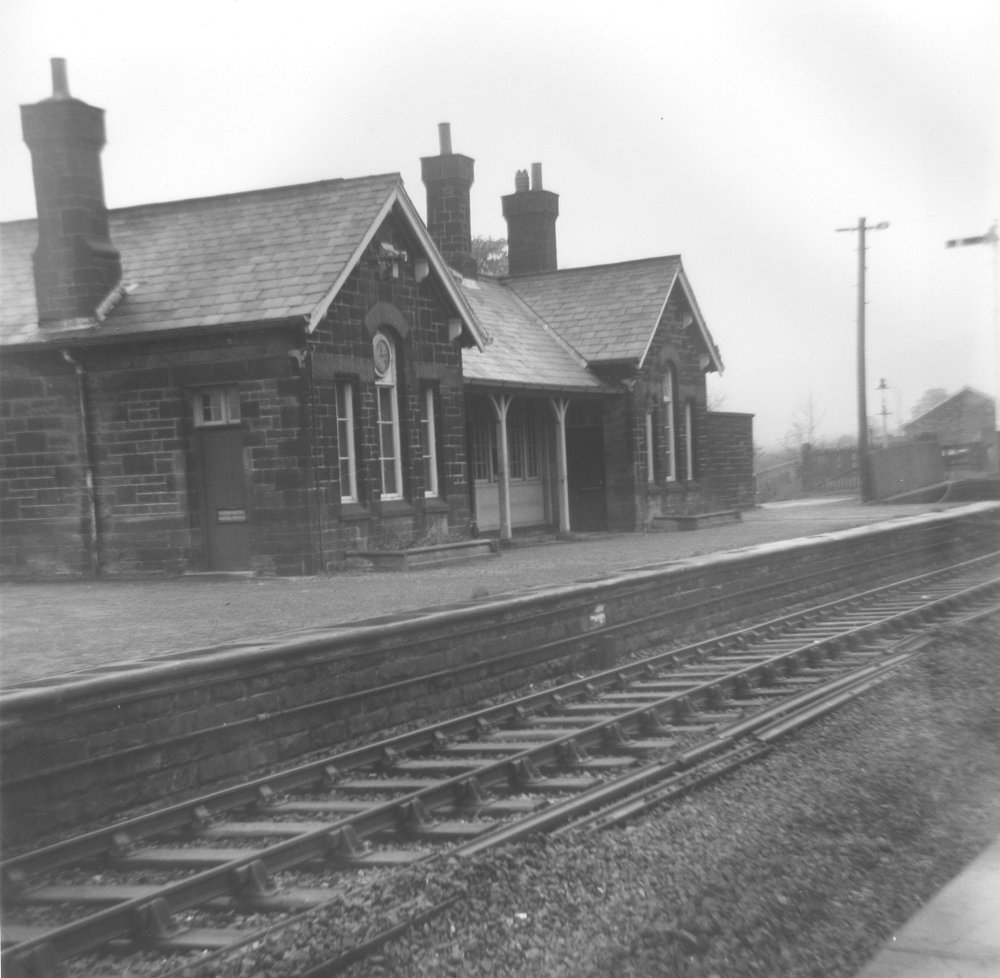
Once more we see Addingham station, and can clearly see its design as a mirror image to Embsay's. Worthy of note is the
condition of the building, in comparison to Embsay at this time. It would seem to be better off.
(c) David Cash.
|
|
Viewed from the end of platform 2, the remains of the yard and trailing crossover can once more be seen. Also worthy of note
is the track layout giving access to the cattle dock from beside the shed, allowing shunting moves to take place without
going out of station limits.
(c) David Cash.
|

|
A nice view of Addingham signalbox, retaining it LMS style nameplate to the very end, even though it was painted in BR
(NE) region colours.
(c) David Cash.
|
|
The throat of the station is seen here from the Ilkley end of the site, with the headshunt for the yard visible to the right
and the retention of the signalling.
(c) David Cash.
|
|
More demolition going on - presumably between Addingham and Ilkley, although this is harder to be certain about as this doesn't
remain in existence today to check up on!
(c) David Cash.
|
|
The 8F in charge of the demolition train crosses the main viaduct in Ilkley, heading away from the station, bringing this section
of the line's history to an abrupt close.
(c) David Cash.
|
|
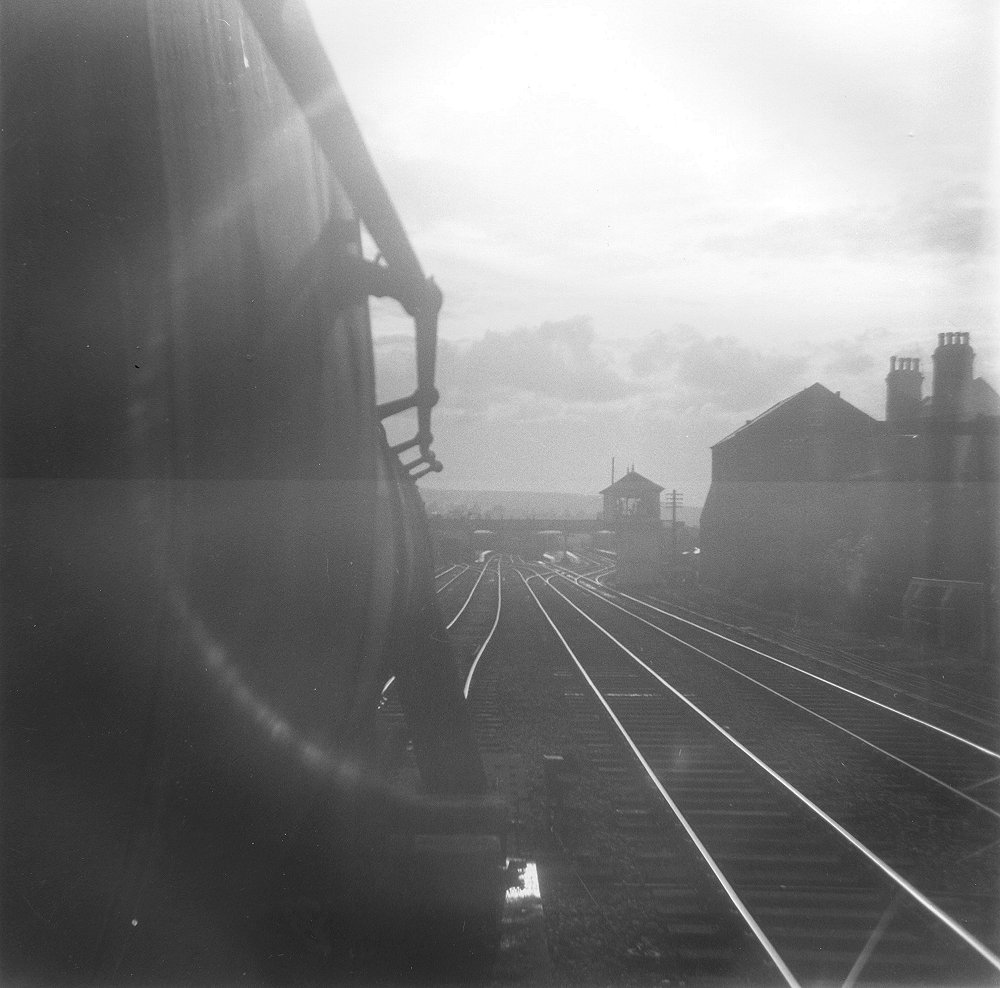
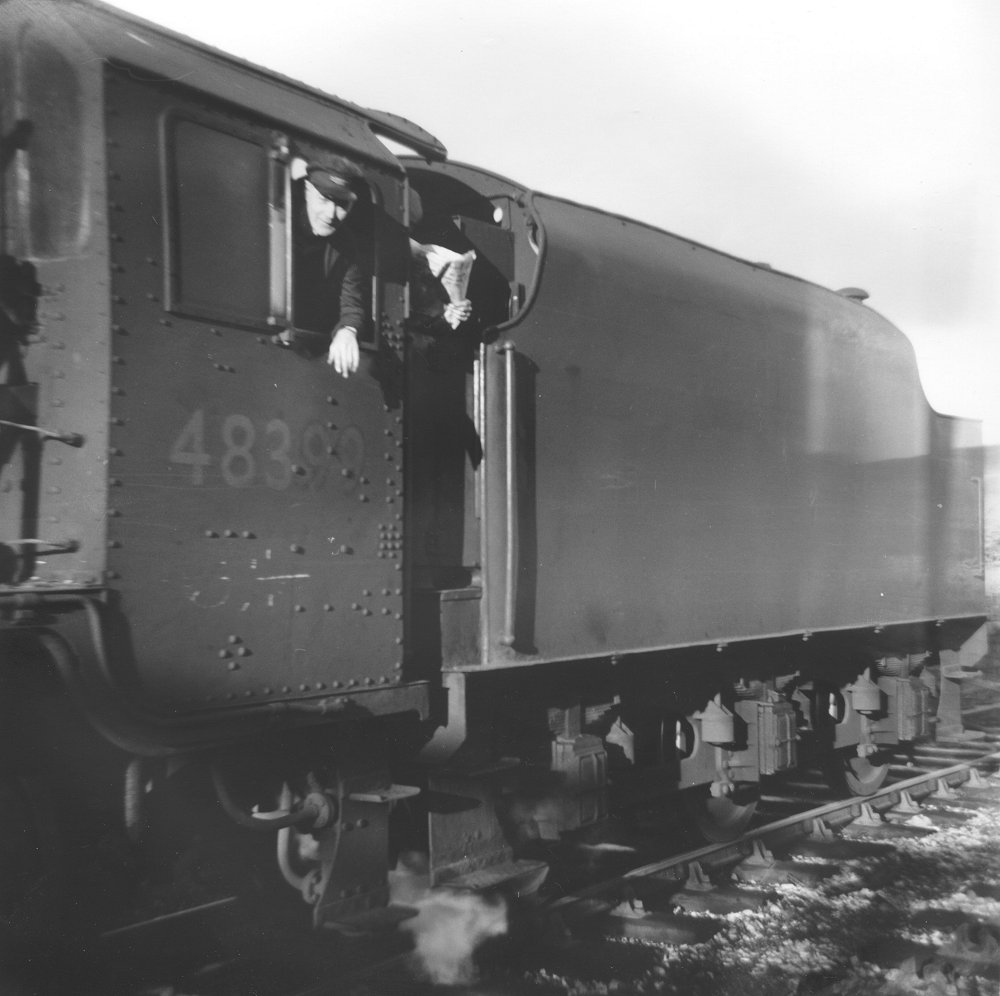
This picture was taken from the footplate of an 8F approaching Ilkley station, heading towards platforms 1 and 2 from the
east. The platforms for Skipton are seen at the far right hand side of the photo - now a carpark.
(c) David Cash.
|
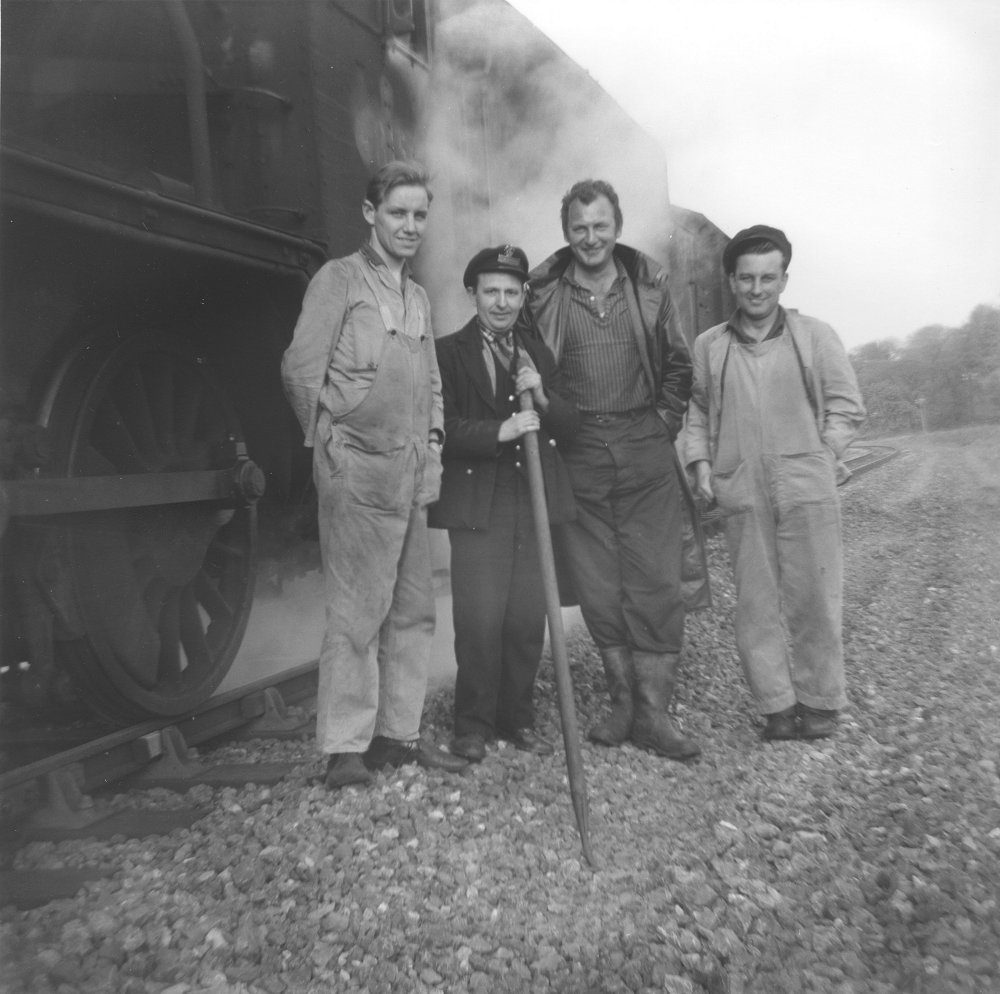
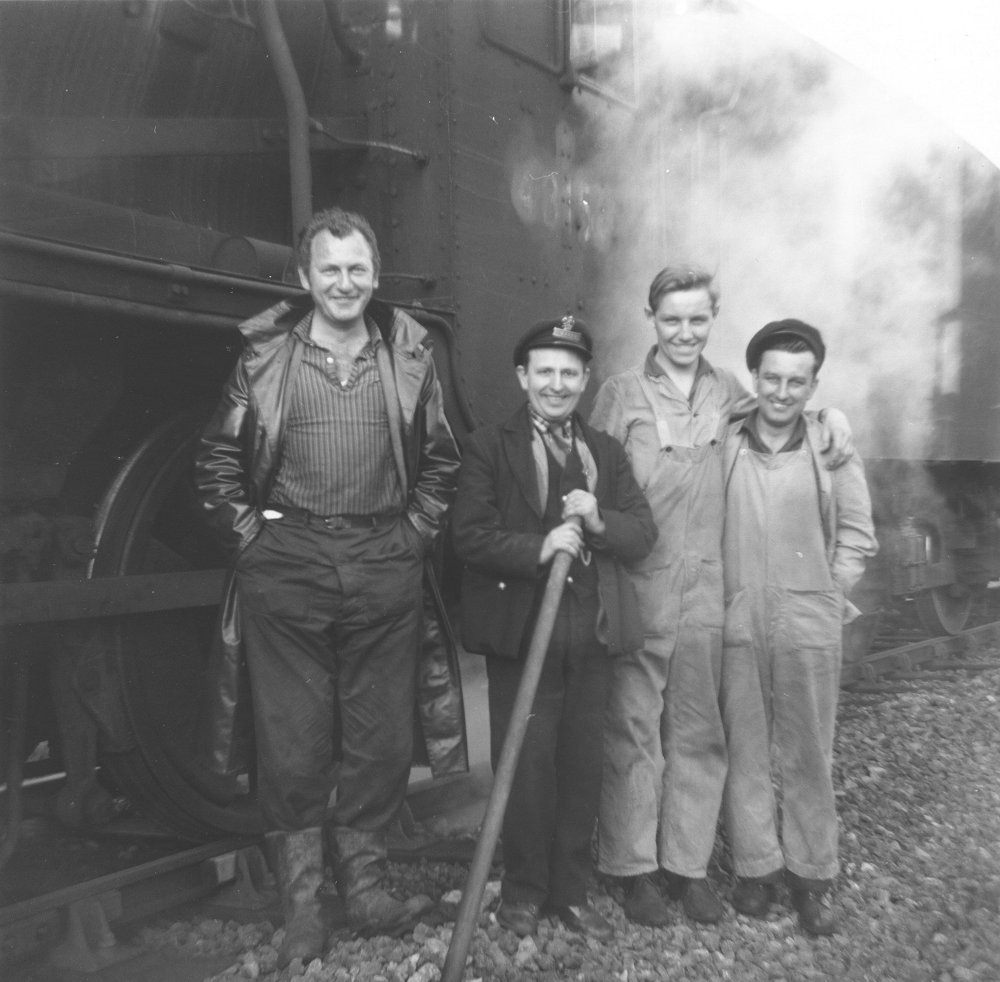
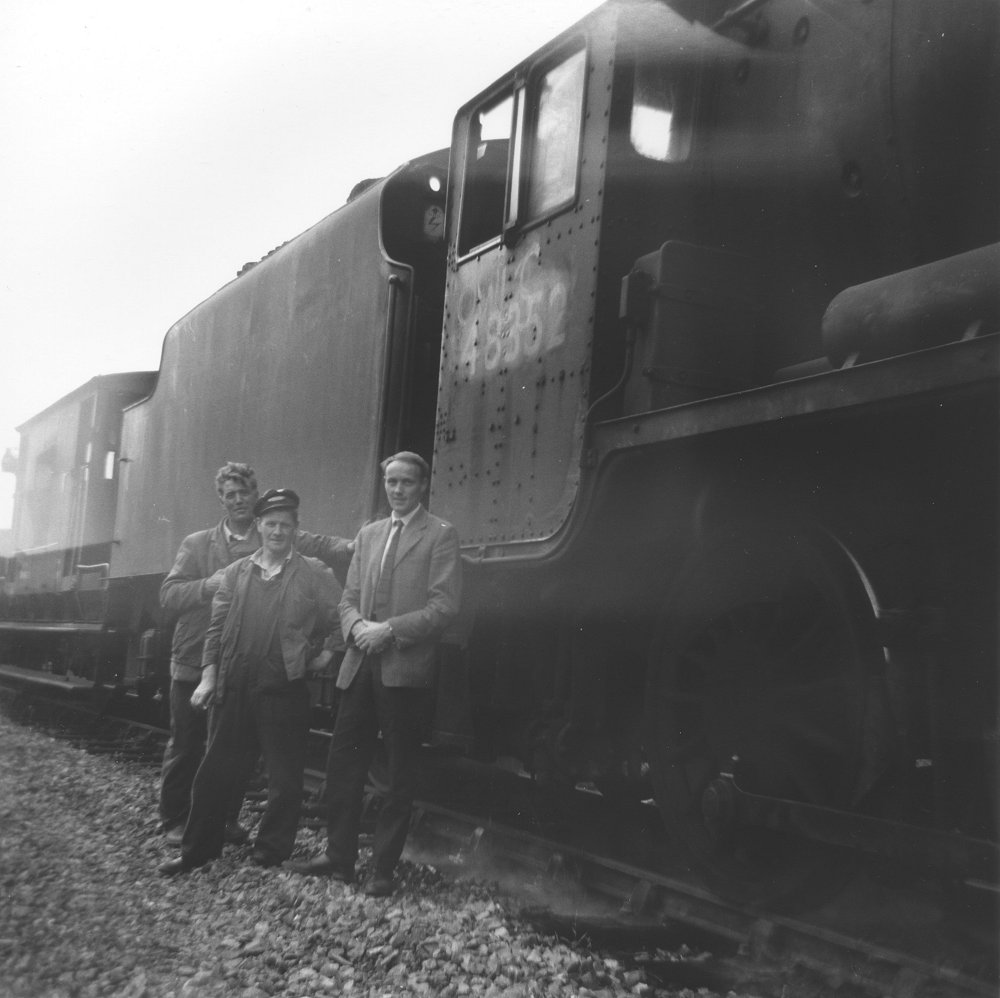
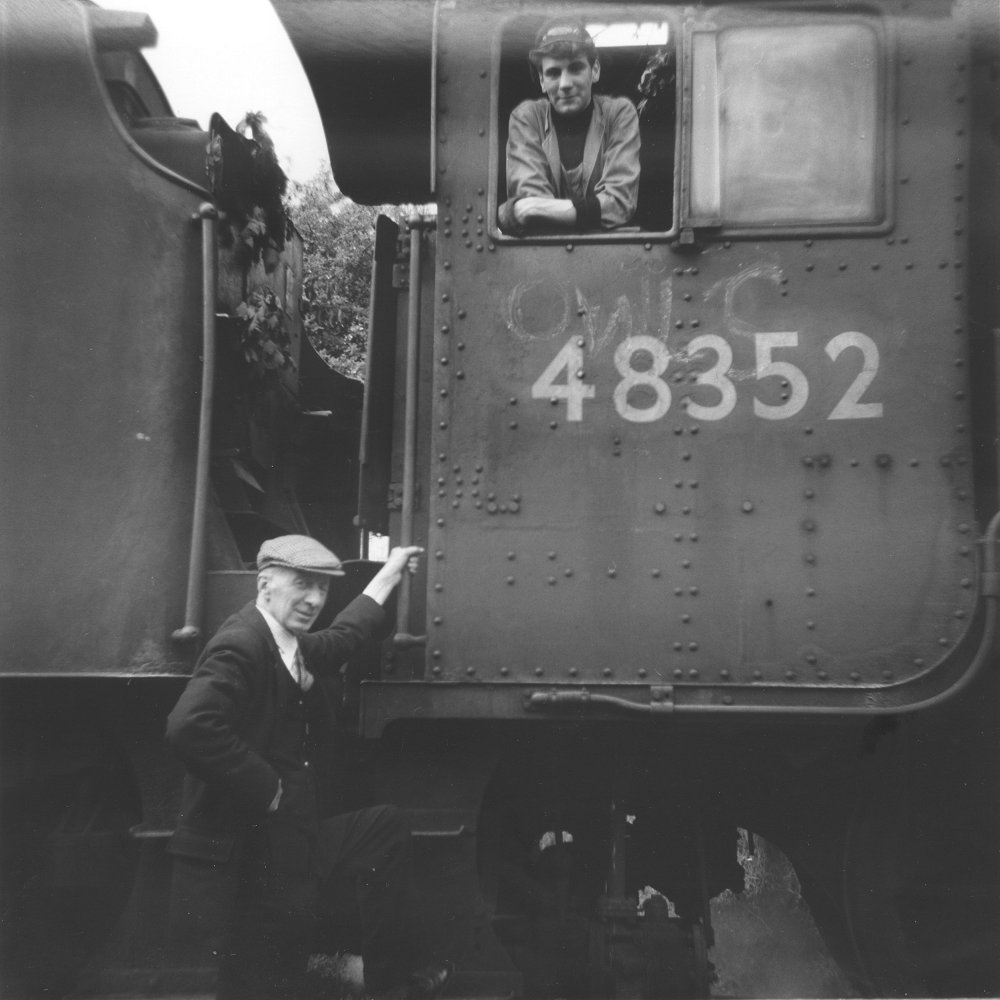
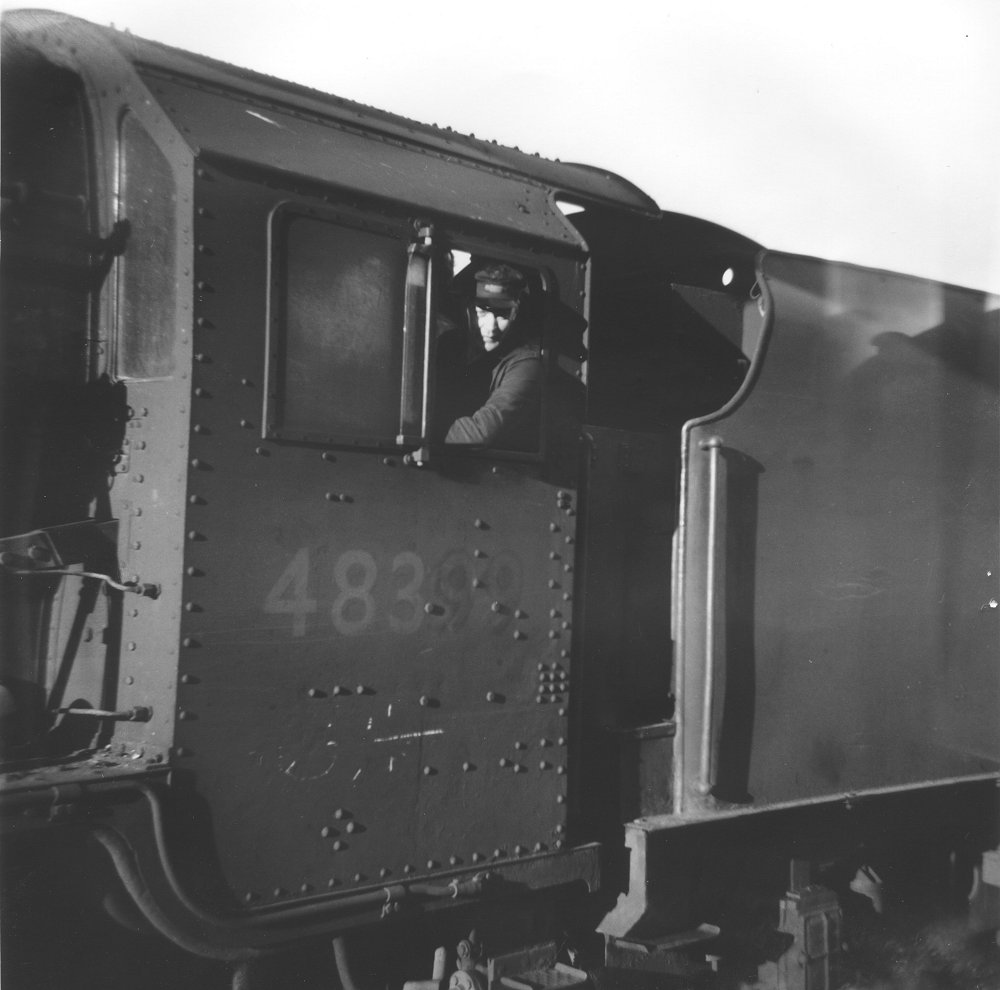
Several photos now follow, showing posed pictures of the crews of the final trains in front of their loco, with David Cash himself joining in. Location unknown, although there is a sharp curve visible to the rear of the photo.

|
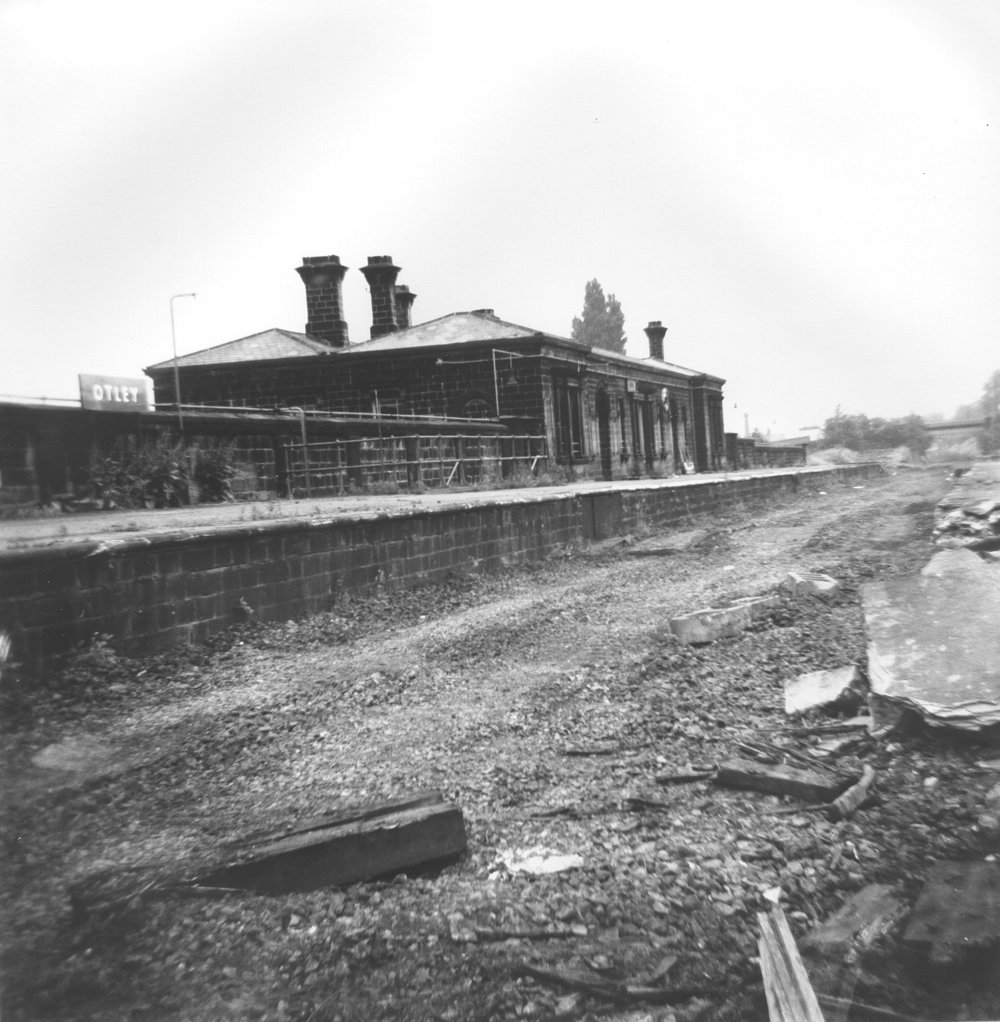
Although not on the Skipton - Ilkley line, these final three photos are on lines connected to it, and therefore interesting
to see. This shows the goods shed at Otley, looking towards the station.
(c) David Cash.
|
|
Otley station, a sad sight completely deviod of track and now derelict.
(c) David Cash.
|
|
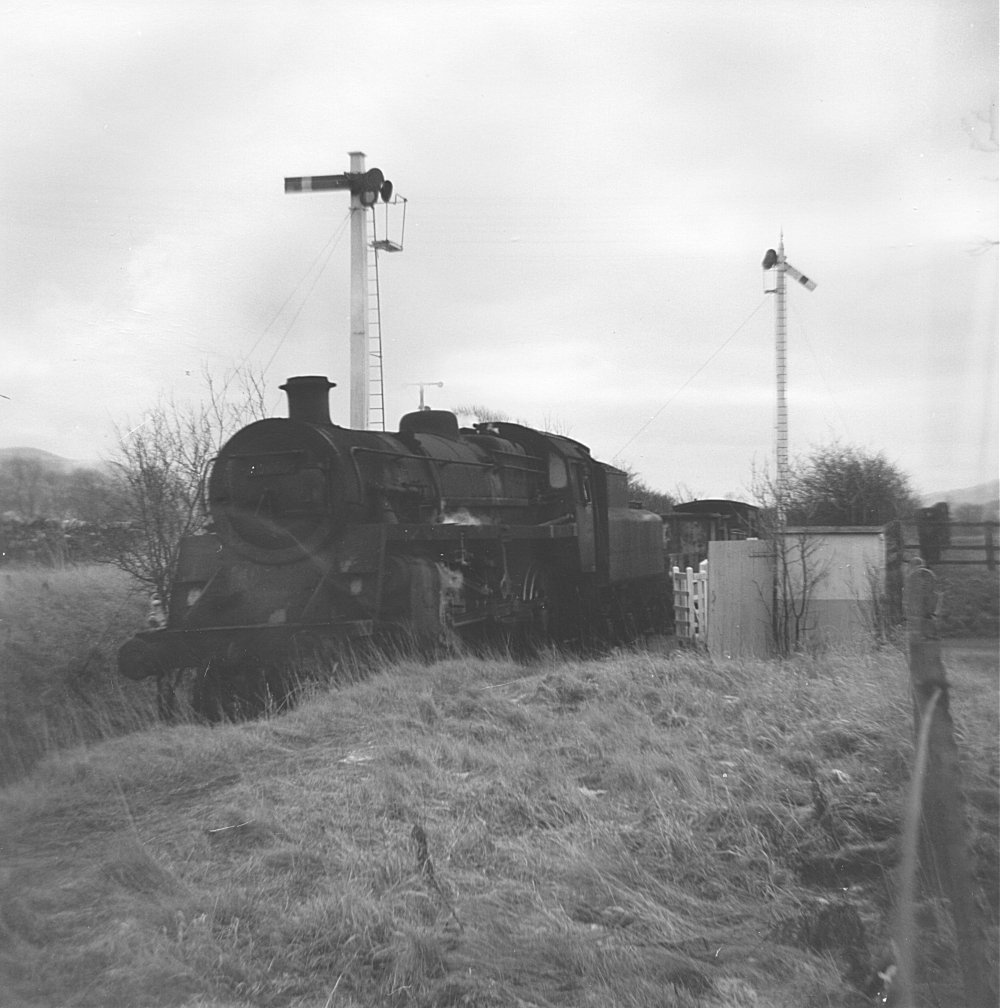
Moving closer to home, and the Grassington branch, viewing its level crossing at Rylstone, which survives to this day,
although without its tall protecting signals. An unidentified BR Standard 4 crosses the road, heading towards the quarry
(I think).
(c) David Cash.
|
|
Yorkshire Dales Railway Museum Trust (Holdings) Limited
Registered Charity No. 1116386 Bolton Abbey Station, Bolton Abbey, Skipton, North Yorkshire, BD23 6AF General Enquiries: 01756 710614 - Talking Timetables & Fax: 01756 795189 enquiries AT embsayboltonabbeyrailway DOT org.uk webmaster AT embsayboltonabbeyrailway DOT org.uk |

|
